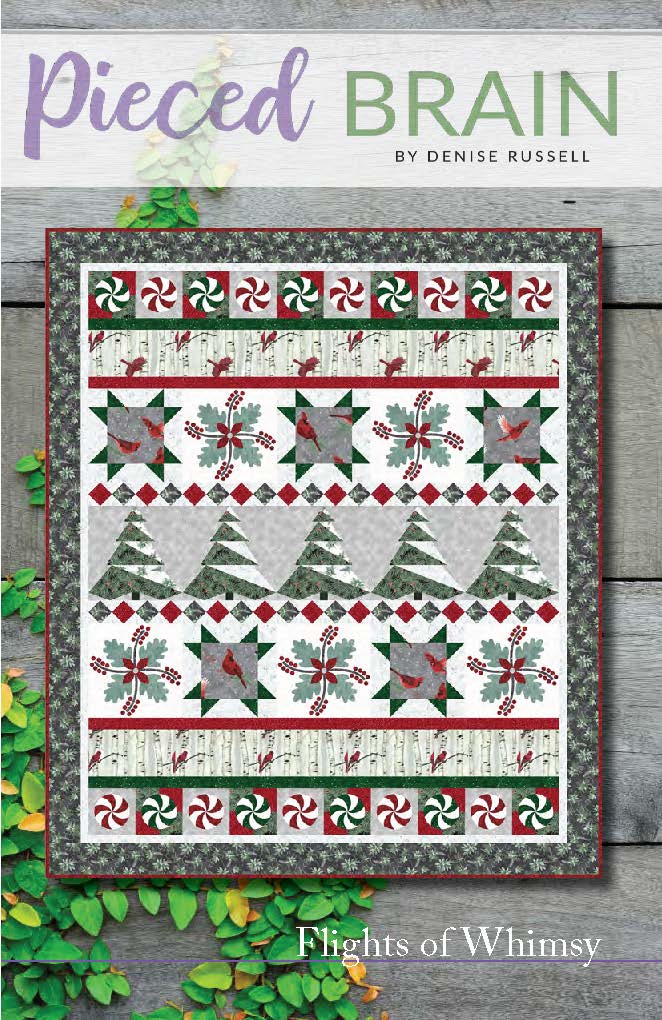
Flights of Whimsy is my newest quilt pattern and I am loving it. Make this Christmas sew by row quilt a little at a time and when the holidays come you will have it (or a few quilts) completed and ready to gift.
This Christmas quilt pattern has fun possibilities for customization, has easy machine applique’ blocks, and the snowy Christmas trees will ensure you always have a White Christmas regardless of where you live (if white Christmas is what you like to have!).

Flights of Whimsy, available in my Etsy Store (PiecedBrain) and at quilt stores (contact me for wholesale orders), measures 70” x 82” with block sizes at 3”, 6”, and 12”. The skill level is Intermediate; however, the instructions are very detailed to help beginner quilters, too.

I designed Flights of Whimsy with Hoffman Fabrics’ Frosted Flight collection. Once you see the fabrics you will understand why I fell head over heels for this collection with its traditional motifs wrapped in a modern palette with lots of grays and silvers and reds…
In fact, I loved it so much that I designed and made another quilt with Frosted Flight which will be featured in a magazine in a few months – so I can’t show it to you right now.

The blocks display the fabrics well while giving the quilt a scrappy Christmas look. The negative space conveys a modern quilt vibe making Flights of Whimsy a versatile home decor accessory – traditional feeling with a contemporary flair. I designed it using EQ8, my favorite quilt design software.
How to Make this Christmas Sew by Row Quilt

The first row of this Christmas quilt pattern is made with red and green peppermint candies against two different backgrounds. Of course, if the quilt pattern uses applique’ and I designed it, it is machine applique’ with the blanket stitch!
The ‘blades’ of the peppermint candies are oversized by 1/8″ to allow for easy placement and a perfect circle. I did machine applique’ both sides of each ‘blade’ to add texture and make the colors pop. I chose white thread but green – for this block – would have looked just fine, too.
If you would like to learn more about how I machine applique’ using fusible web, check out my recent post showing the steps I took to applique’ the butterflies in the Nature Lover – Summer quilt.

This modified star block is great for showing off large prints – the ideal frame for this amazing Robin, don’t you think? Using a background fabric with texture adds interest to the block and quilt, a tip for all of you budding quilt designers!
I like star blocks on Christmas quilts, yet this block gives a more subtle, innovative, and modern hint of the traditional star, and I am so glad I chose it.

This applique’ block is super easy to make. The circles have a manageable size making for trouble-free fusing and appliqueing with the blanket stitch. Yeah… I ran out of the background fabric and used another fabric I had in my stash.
The gray stems on this block, as well as the colorful peppermint blocks, add a lot of movement to this Christmas sew-by-row patchwork quilt. Alternating these blocks with the star blocks softens the overall look of those two rows.
How to ensure a soft hand on fusible applique’ blocks

Yes, the leaves are large and this is how I ensure that the final block will have a soft hand – I cut out some of the fusible web in the middle of the shape before I fuse it to the wrong side of the fabric. Thus, the glue is mostly around the edges, enough to hold the leaf to the background and stay put until I stitch it down.
As for the fusible web, I only use Heat ‘n Bond Lite. I can reposition a shape if I need to, the shapes stay in place for a long time until I am ready to applique’ them, and the final blocks are not stiff. I have tried other products but this is the one that has a designated spot in my studio. I never run out of it.
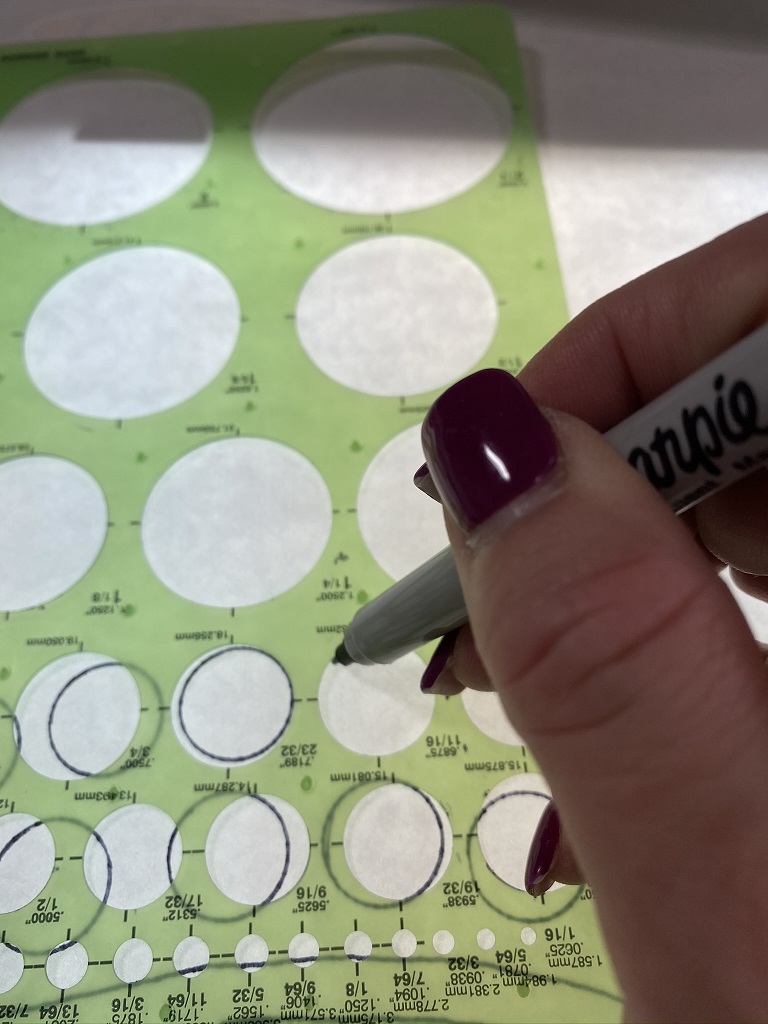
How to draw perfect circles
I use this circle template for math and art projects whenever I need to draw circles for applique’ blocks. This is a handy tool to draw perfect circles and I could not live without it. All the circles have the same size and I just need to make sure I remember my ‘circle-cutting’ skills from elementary school – move the circle and not the scissors when cutting it.

Now, for my favorite block on the quilt: the Christmas tree! The fabrics shown above are different than the ones I used on Flights of Whimsy, but you can see how fun this block is! This ‘sew by row’ quilt pattern includes the templates at 100% scale, which means that for this tree you will need to print them on 11″ x 17″ paper when you download the PDF. If you purchase the pattern at your favorite quilt store, the templates are already printed on large paper and you will only need to trace them.
The paper piecing is easy because the patches are large enough to handle. Check out these two tutorials for this method: here is a video, and here is a photo tutorial.
What you will need for paper or foundation piecing
- Foundation paper (or tracing paper): I have tried many papers throughout the years. In the end, the winner is the common tracing paper. I keep a large pad of it by my desk and use it on all my paper piecing projects – large or small. Of course, if you will print foundation templates, you will get better results by using foundation paper instead as it will feed easily through the printer.
- Add-a-Quarter ruler: this ruler makes it easy to trim the patches to 1/4″ seam before I can add the next one. The 6″ size is the only one I own and works well even for longer edges as I can slide it as I cut.
- Old credit card or postcard: as you have noticed in the tutorials I mentioned above, I place the credit card (or hotel key card) on the next line where I will stitch, fold the foundation paper over the card, align the ruler with it, and cut.
When you are ready to make this Christmas sew by row quilt, download the Flights of Whimsy pattern from my Etsy store or look for it at your favorite local quilt store. And, don’t forget to share a photo of your work via email so I can post it here, or on social media with the hashtag #flightsofwhimsyquilt.
{This post features affiliate links.}
Enjoy your day,

Very good combo..looking forward to making this…f