
My husband’s old sweat pants had been neatly folded on my dresser for a week. Deformed after many washes to fit anyone, I wasn’t sure even the Thrift Store would take it.
Today, I looked at it with mischievous eyes… and took it to my quilt room. I searched for a piece of plain flannel, and the rest of history! I did record it, though, in case you have sweats which need to be put to good use!
Here is what you will need:
Old sweat pants
Flannel fat quarter (more if for bigger hat)
Hat, or template for hat
Thread, scissors, etc for sewing

Take a hat, or use template for correct hat size, place it over sweat pants (2 layers), trace and cut shape. Note: the combination knit + flannel will not stretch, so make sure you know the head size and add 1/4 inch seam allowance all around.

Place one piece of cut sweats onto folded flannel, using it as a template to cut the two pieces you will need.

With RST, sew one black (shell) to one burgundy (flannel lining) together on the straight edge. As you can see, I used the walking foot as I was anticipating bulky spots to sew over later. Do the same for the other black and burgundy pieces.

Press seams open, then matching colors pin and sew both parts of hat together (RST), all around, leaving about a three-inch opening on one of the curves. (I left it open on the black side by mistake, as it was going to be the shell… Next time, will make sure the opening is on the lining).


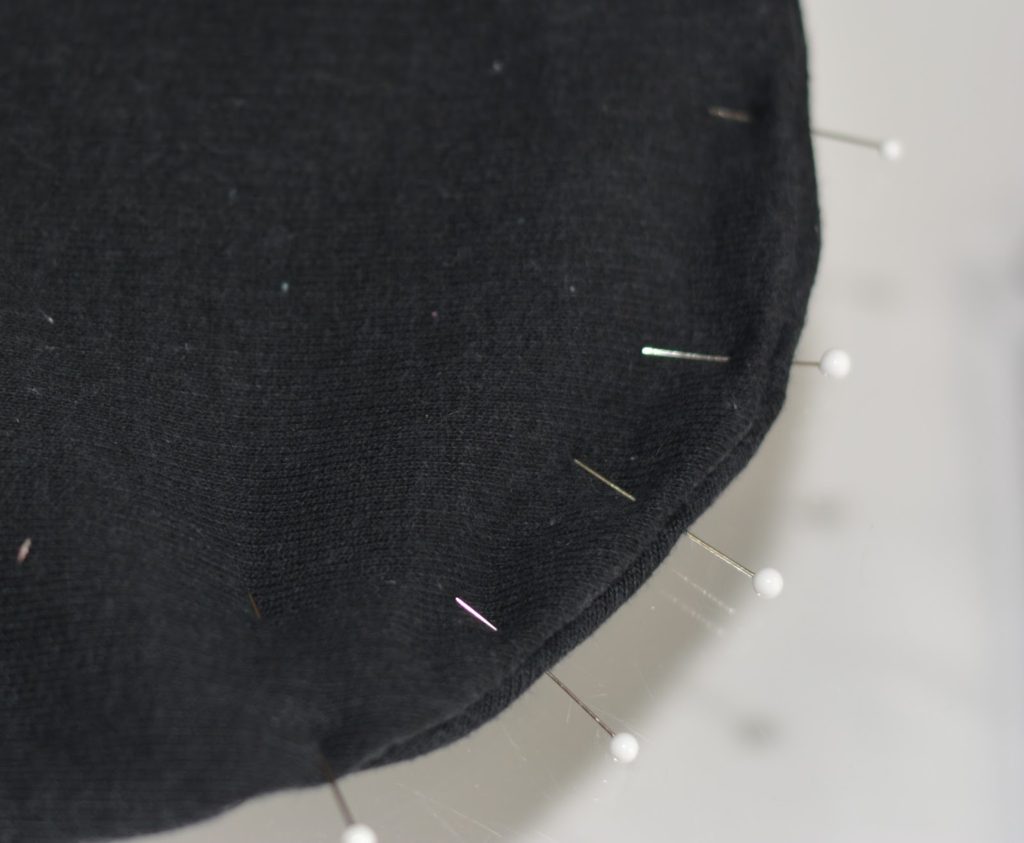
Turn in about 1/4″ on both sides of the opening, pin as you carefully follow the curved shape.


Top stitch the straight edge, fold lining over shell, and you are done! I am going back to the quilt room to work with the remaining fabric. This was quick and fun!
Enjoy the Friday…

Love the hat….great tutorial. Thanks for sharing. Marie ([email protected])
Very smart of you to put that sweats fabric to good use. Thank you for sharing your technique. Stitching Bliss…
Really great idea and awesome finish!!
What a cute and crafty idea Denise, may have to borrow your idea sometime, so thanks for the fun tutorial!!
Hugs,
Tanya