Here’s a fun and easy Pumpkin Garden Beginner Quilt pattern to download and make quickly. It is perfect for using all your scraps!
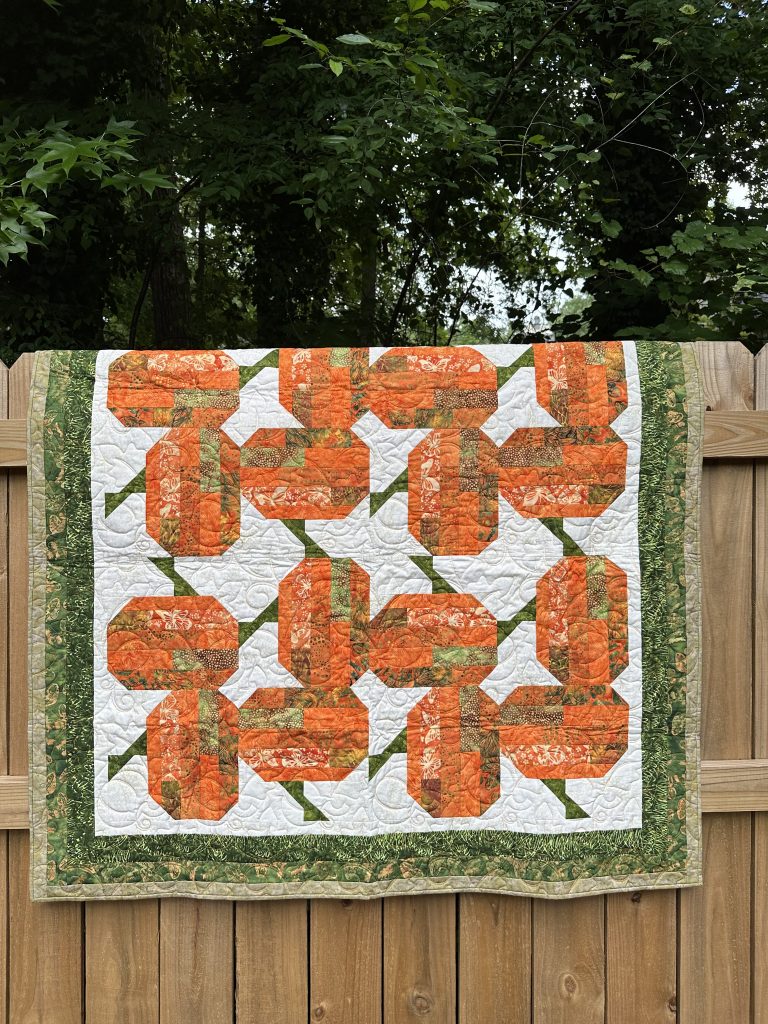
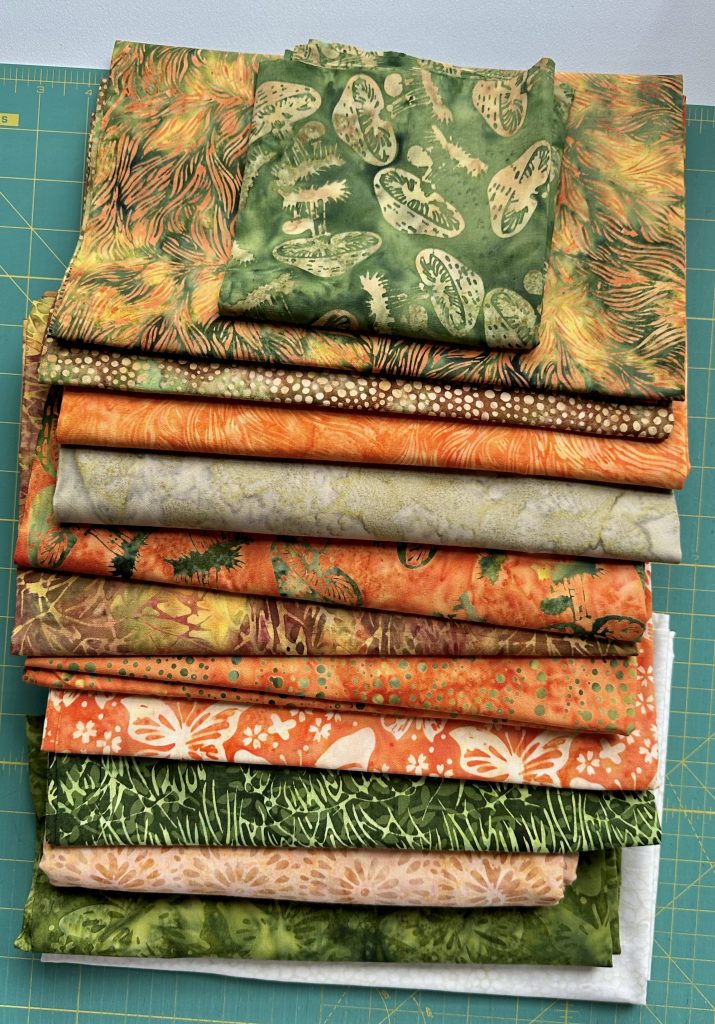
Newbie Gardener is my newest pattern! I made the quilt using The Patch Beneath collection by Island Batiks. It measures 51″ x 51″, and the blocks finish at 10″. I loved working with the batiks in this collection. However, you can use your favorite collection or, better yet, all the scraps in your stash.
The quilt size works as a throw, a table topper, or a wall hanging. I rotated the blocks this way and that to depict how we often find pumpkins in our patches. At least, for this newbie gardener here (yep, I was thinking of me when I named the pattern), that is how the pumpkins turned out a few years ago in my house.
I did not plan on having a pumpkin patch. My sons were likely not thinking of anything as they ate pumpkin seeds on the deck that summer. Of course, in a birdlike manner, they scattered seeds more than they munched. A few weeks later, I saw some interesting vines growing below the deck…
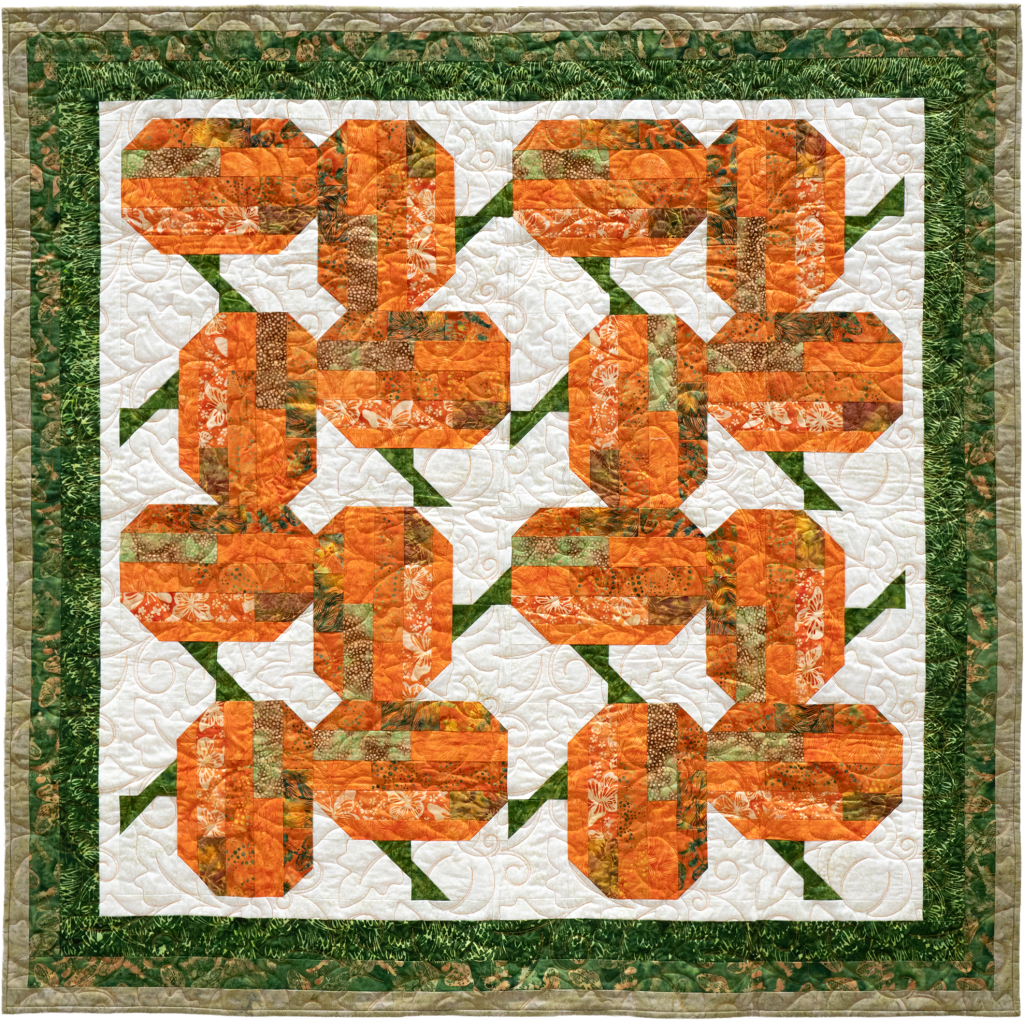
You can make this quilt in a weekend, as you only need to stitch the strips together, then use the stitch-and-flip method to shape the pumpkins and the stem. The quilt would also look great with a variety of solids. I do prefer the texture of prints and batiks.
I stacked the borders beginning with the darkest fabric, and bound the quilt with the same fabric as the last border.
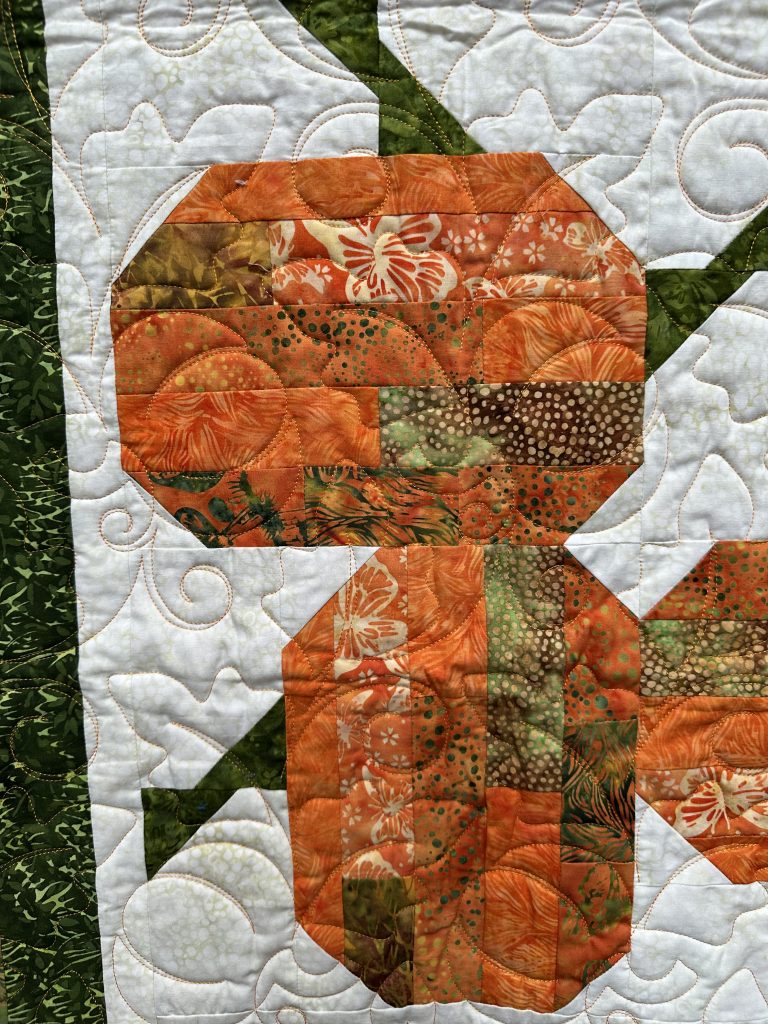
Don’t you love the quilting motif that Denise Cornett @southernquilts chose? And orange thread!!! She has a knack for knowing what goes well with my quilt designs – I hardly ever tell her what I want; she just knows.
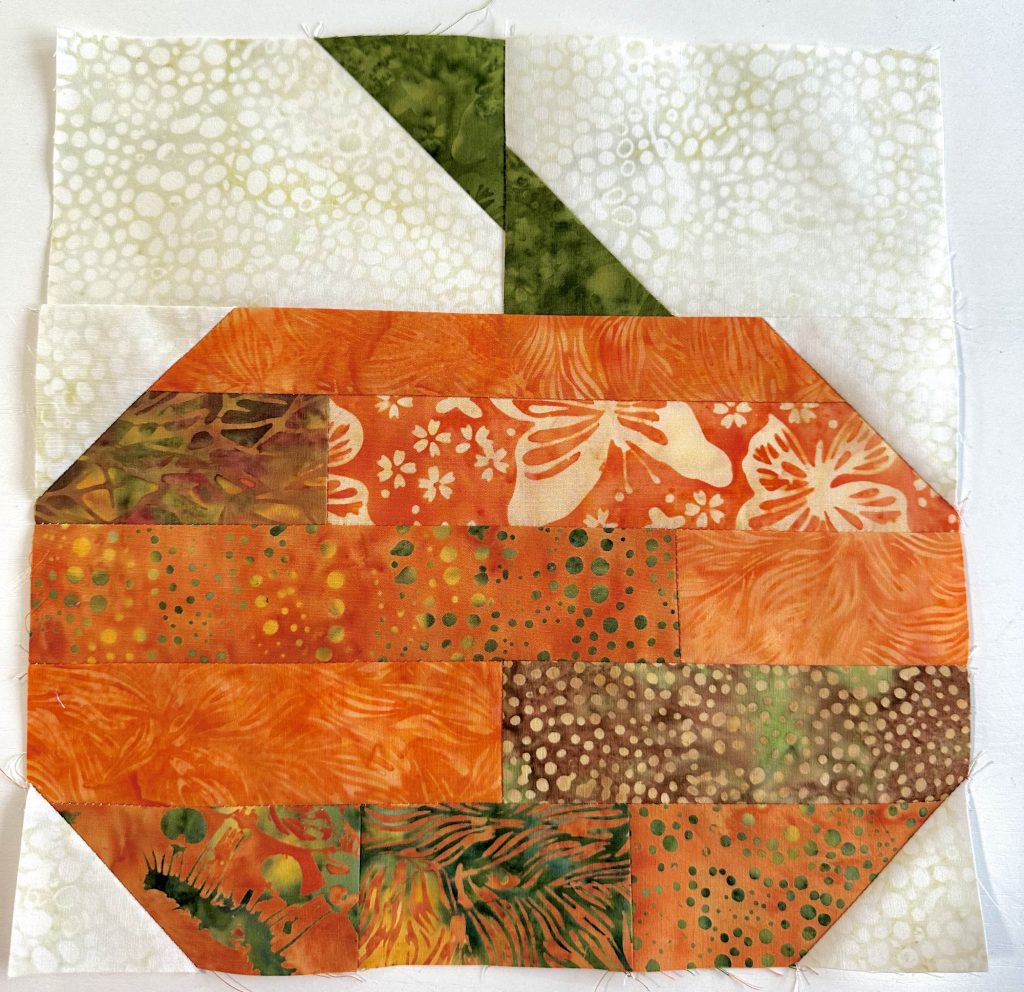
The blocks all feature the same fabrics, so it was an easy chain-piecing party in my studio. However, you can make every block different than the next by cutting your fabric scraps to the size required for each row.
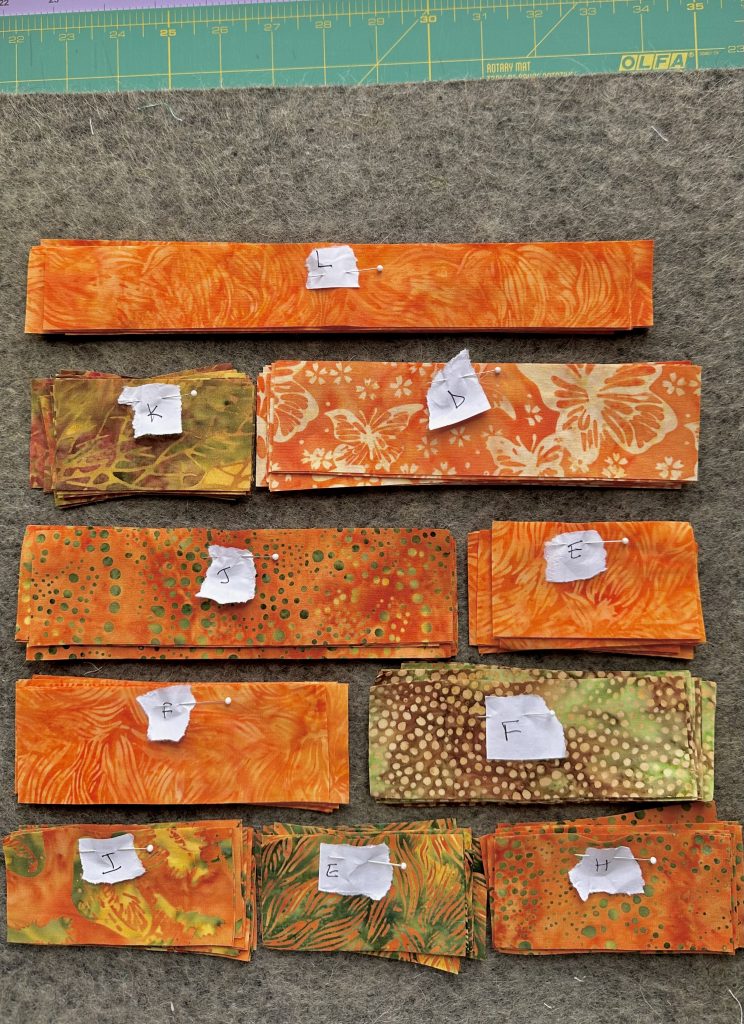
It requires just a little bit of organization. Select the fabrics for each part of the pumpkin, cut them, then stack them as I did. From here on out, sew the rows together, then add the top row.
I also made all the stems from one green print. Here, too, you can go as scrappy as you want. Notice that the background is not solid – I do love textured fabrics for backgrounds! As long as there is a high contrast between the colors on the block and the background fabric, you do not need to use a solid color.
Batiks are the best, aren’t they? I ensure I have tons of them in my stash. One never knows when inspiration will strike, and I must make a quilt NOW. If I had to go out and purchase fabrics first, I would not be able to sew in the middle of the night, because that is often when ideas pop up in my head.
I love how my Pumpkin Garden Beginner Quilt turned out. It is playful, easy, and fast. Isn’t it fun when you can whip up projects very quickly for unexpected gifts, while working with what you already have on hand?
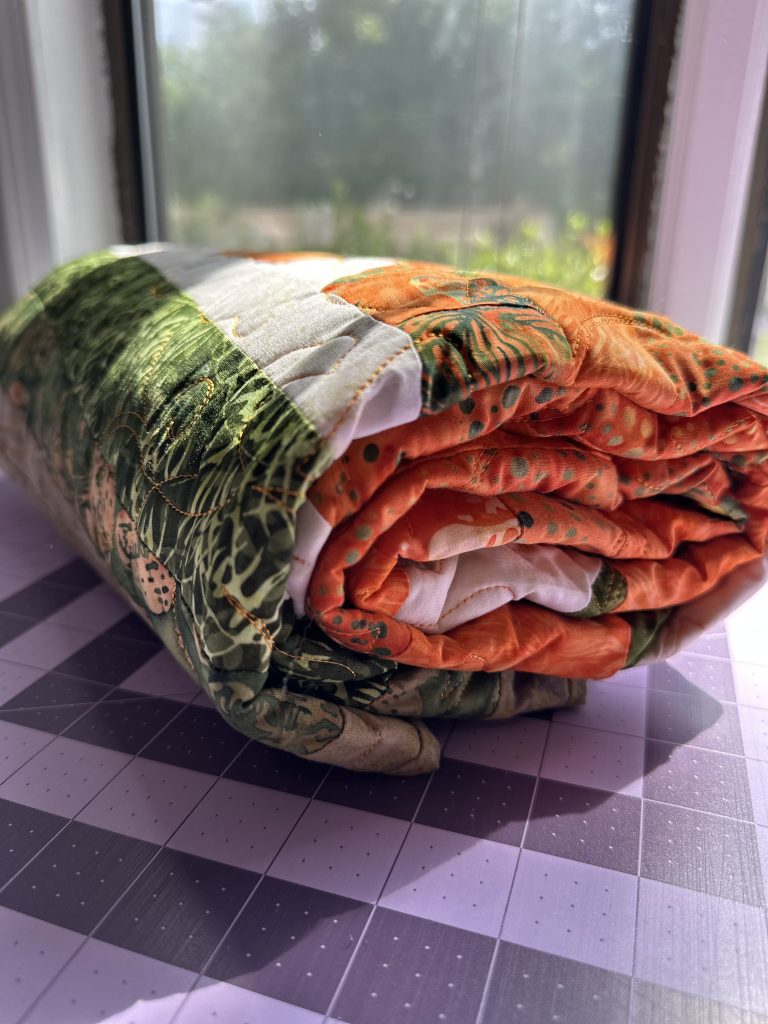
If you want a free pattern for a scrappy pumpkin quilt, check out this one I designed for Hoffman Fabrics a little while ago. For those of us who have a lot of fall fabrics in our ‘collections’ and would like to make larger quilts, how about this fall quilt I designed a while ago, that made the cover of American Patchwork and Quilting?
Let me know what you think of my pumpkin garden! Enjoy your sewing day,