Here’s an easy flying geese quilt block tutorial that will save you time and fabric! Learn when to choose this one over the traditional method.

Last night I was testing this block for a quilt pattern I needed to write. It finishes at 12″ but the main reason to test it was because the size of the flying-geese units was not conventional, i.e., 2″ x 4″, 3″ x 6″, etc. Thus, I could not use the traditional method to construct them, as they measured 2-1/4″ x 4-1/4″ finished.
I do use EQ8, the software by the Electric Quilt Company to design my quilts, and all the measurements and cutting instructions are available to me. However, when I want to construct the blocks differently than what was recommended by the software, it is nice to have more than one option to choose from. In the case of the flying geese block, here are some of them:
Traditional method
The way we usually make flying geese blocks is by stitching a square to one side of the rectangle, trimming the seam to 1/4″, pressing open, and repeating with the adjacent side of the same rectangle. I use this method often when the size is straightforward and I only need to make a few units. It is a good candidate for chain-piecing, too.
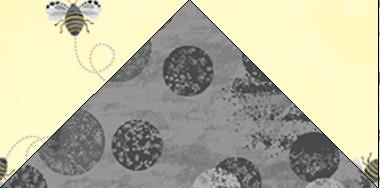
Here’s how I calculate the size of the squares: say the gray rectangle above measures 4-1/2″ unfinished. I divide 4-1/2″ by 2 and get 2.25″. Then, I add 1/4″ for the seam allowance and end up with 2.5″ – that is the size of the squares that will go on each end of the rectangle.
Alternative methods
To be sure, there are other ways to make flying geese. You can do it by using half-square triangles, by using a ruler, or by using the no-waste method (another tutorial). Of all these, the no-waste method is very handy, particularly when the size of the flying geese you need does not land itself to the easy math I mentioned above. So, that is the one I used for this block, and here is the flying geese quilt block tutorial.
No-waste method

First, let’s brush up on the math used to calculate the size of the small and large squares. For the small squares, add 7/8″ to the finished size: 2-1/4″ + 7/8″ = 3-1/8″. For the large squares, add 1-1/4″ to the finished length of the flying geese unit: 4-1/4″ + 1-1/4″ = 5-1/2″. So, on the photo above, the yellow square measures 5-1/2″ and the white squares measure 3-1/8″. You will need four white squares for each yellow square.
Mark a diagonal line on the wrong side of the 3-1/8″ White squares. With right sides together, place two marked White squares on opposite corners of one 5-1/2″ yellow square, making sure drawn lines intersect in the middle and noting that the corners of the small squares will overlap. Stitch ¼” on each side of the marked line.

Cut on the drawn line, and press each unit open.


Place one more marked White square on the corner of each unit, stitch as before, and cut.

Press the seams open and you get four flying-geese units. Trim the dog ears and they are ready to be used. Trim them to 2-3/4″ x 4-3/4″ before you go to the next step to make this block. Why? Because they will be stitched together two by two and, if you forget (like I did…) and trim the resulting unit afterward, some of the points will be right up the seam line and others will be further away (look again on the block above).
It is OK if the points end up a little bit away from the seam line, as long as they are all looking the same. Since this was a test block, I did not mind.
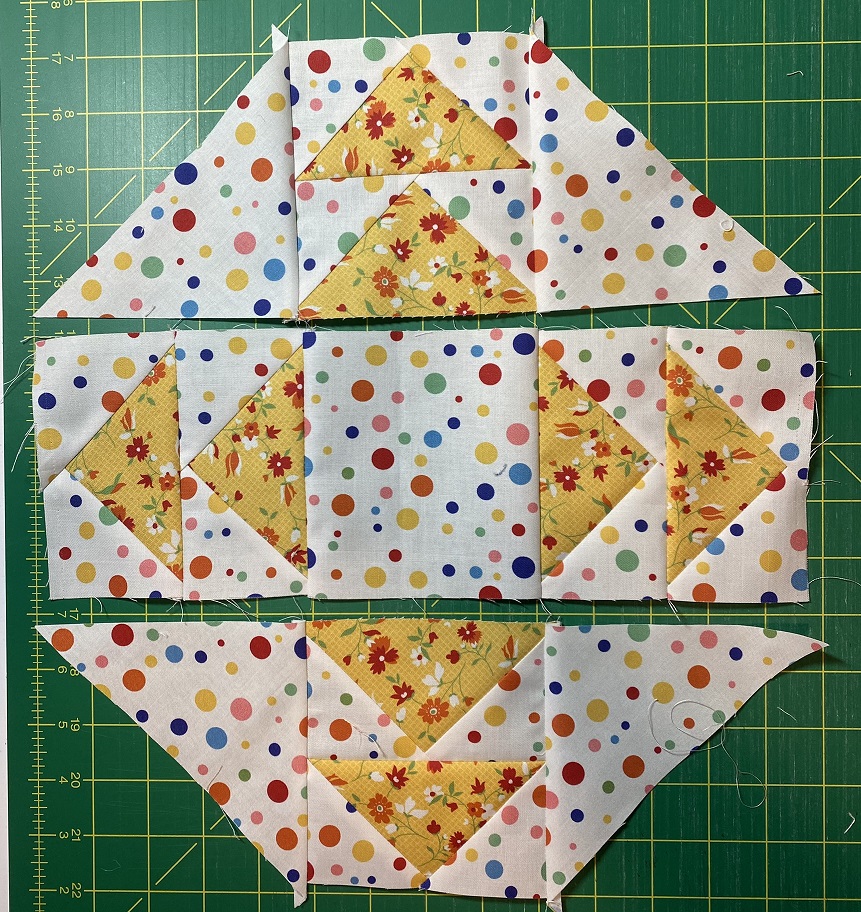
The square on the center measures – you guessed it – 4-3/4″. The triangles on the sides are from a 7-1/4″ square cut diagonally twice.
You will need the corner triangles, so cut two 3-7/8″ squares diagonally once, then sew one triangle to each corner and the block will measure 12-1/2″ finished. Love it!
If you love working with flying geese, check out the book Love Flying Geese by C&T Publishing (affiliate link). It has 27 projects ranging from pillows to bed-size quilts featuring this fun block.
As for fabric choices for this block, I bet your stash has great low volume prints to be used on the background and cool accent prints for the flying-geese units. Or, choose solids instead of the prints. Whichever you select, I am sure it will look fantastic!
Enjoy your day,