
My laptop has a brand new ‘house’! I made this sleeve knowing I will be traveling soon. Sure, I could have bought one but… could I have found one with such cool pattern? The 13-inch laptop fits in easily. Then, I can put it in my carry-on bag without worrying it will be damaged.
I made a tutorial for you. It comes together so quickly that you may be tempted to make a few to give to family and friends as gifts. Let them choose the fabrics, too!
Here is what you will need:
Shell fabric – 16 in x 22 in
Lining fabric – 16 in x 22 in
Batting (I used Soft and Stable by Annie) – 16 in x 19-1/4 in
16 in. large ric-rac
2 3/4 in. wide Velcro strips
1 in. wide masking tape
sewing thread (Aurifil 50 wt)
quilting thread (Aurifil Mako 12 wt)
Basic sewing supplies
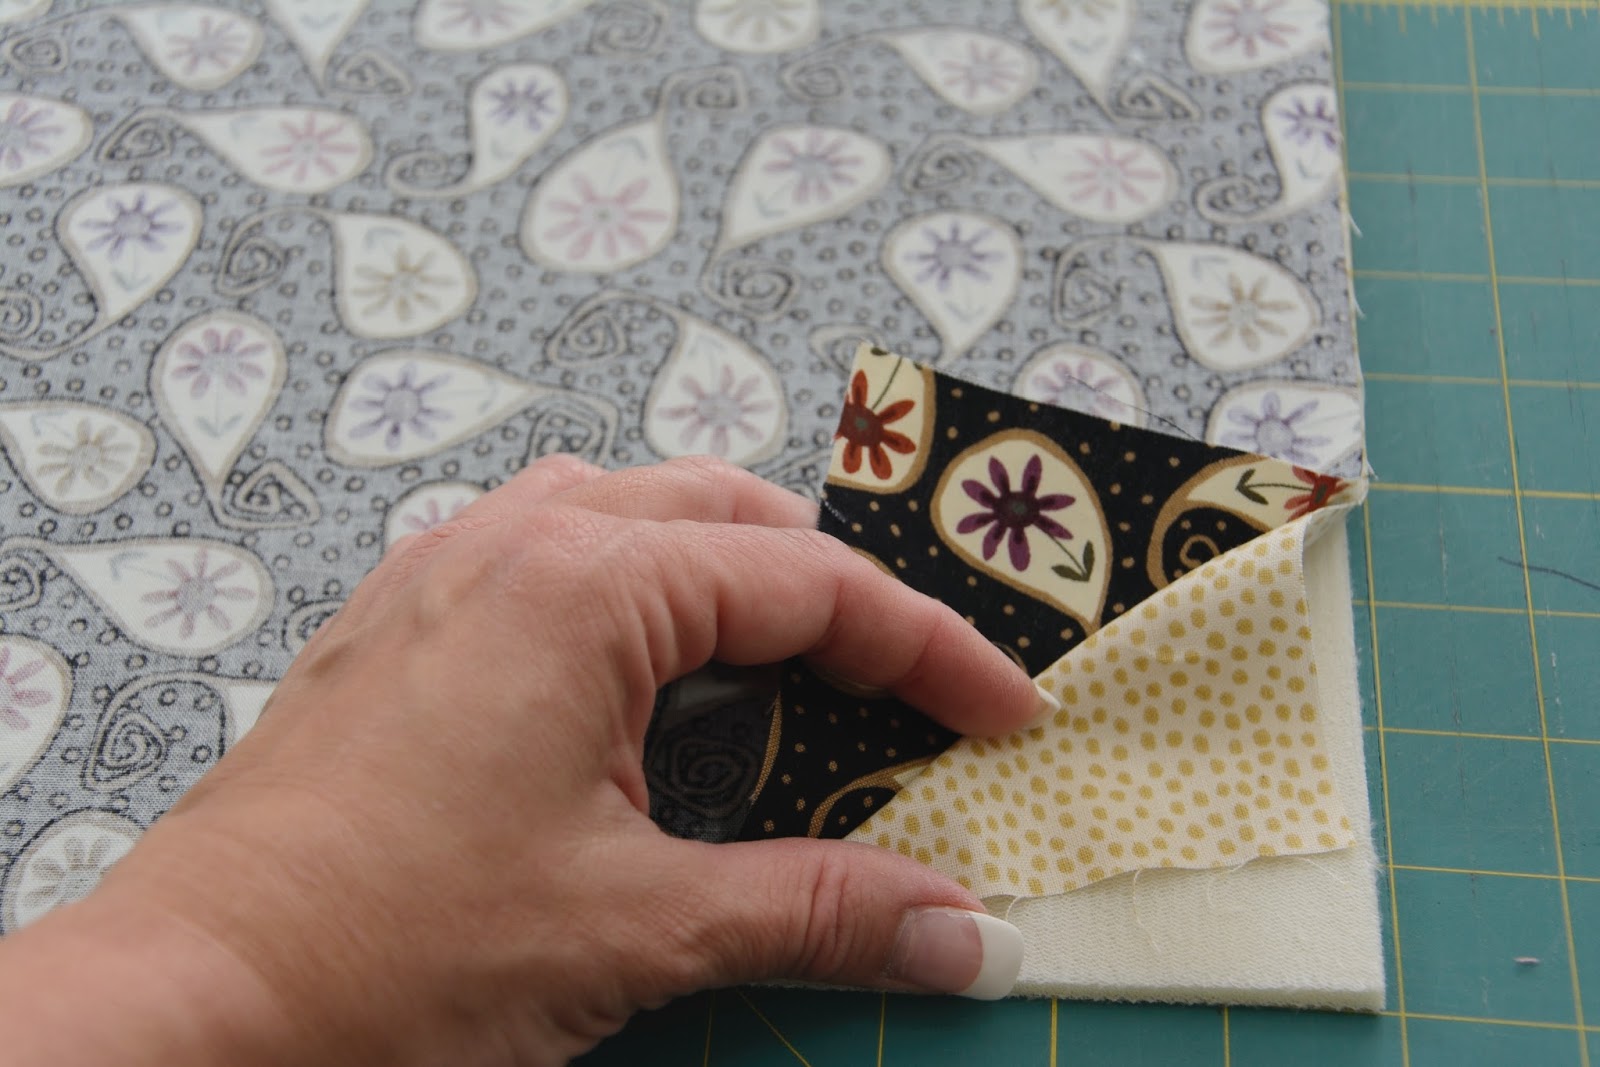
Make a sandwich by stacking the pieces as follows: batting or Soft and Stable on bottom, next comes the lining right side up, then the shell fabric, wrong side up (so, lining and shell will have RST – right sides together).

Stitch three sides leaving a 1/2-inch seam allowance. Note: the batting is shorter than the fabrics as we don’t need batting on the flap of the sleeve, to prevent bulk. You will now flip the project inside out so the batting will be sandwiched between the lining and the shell.
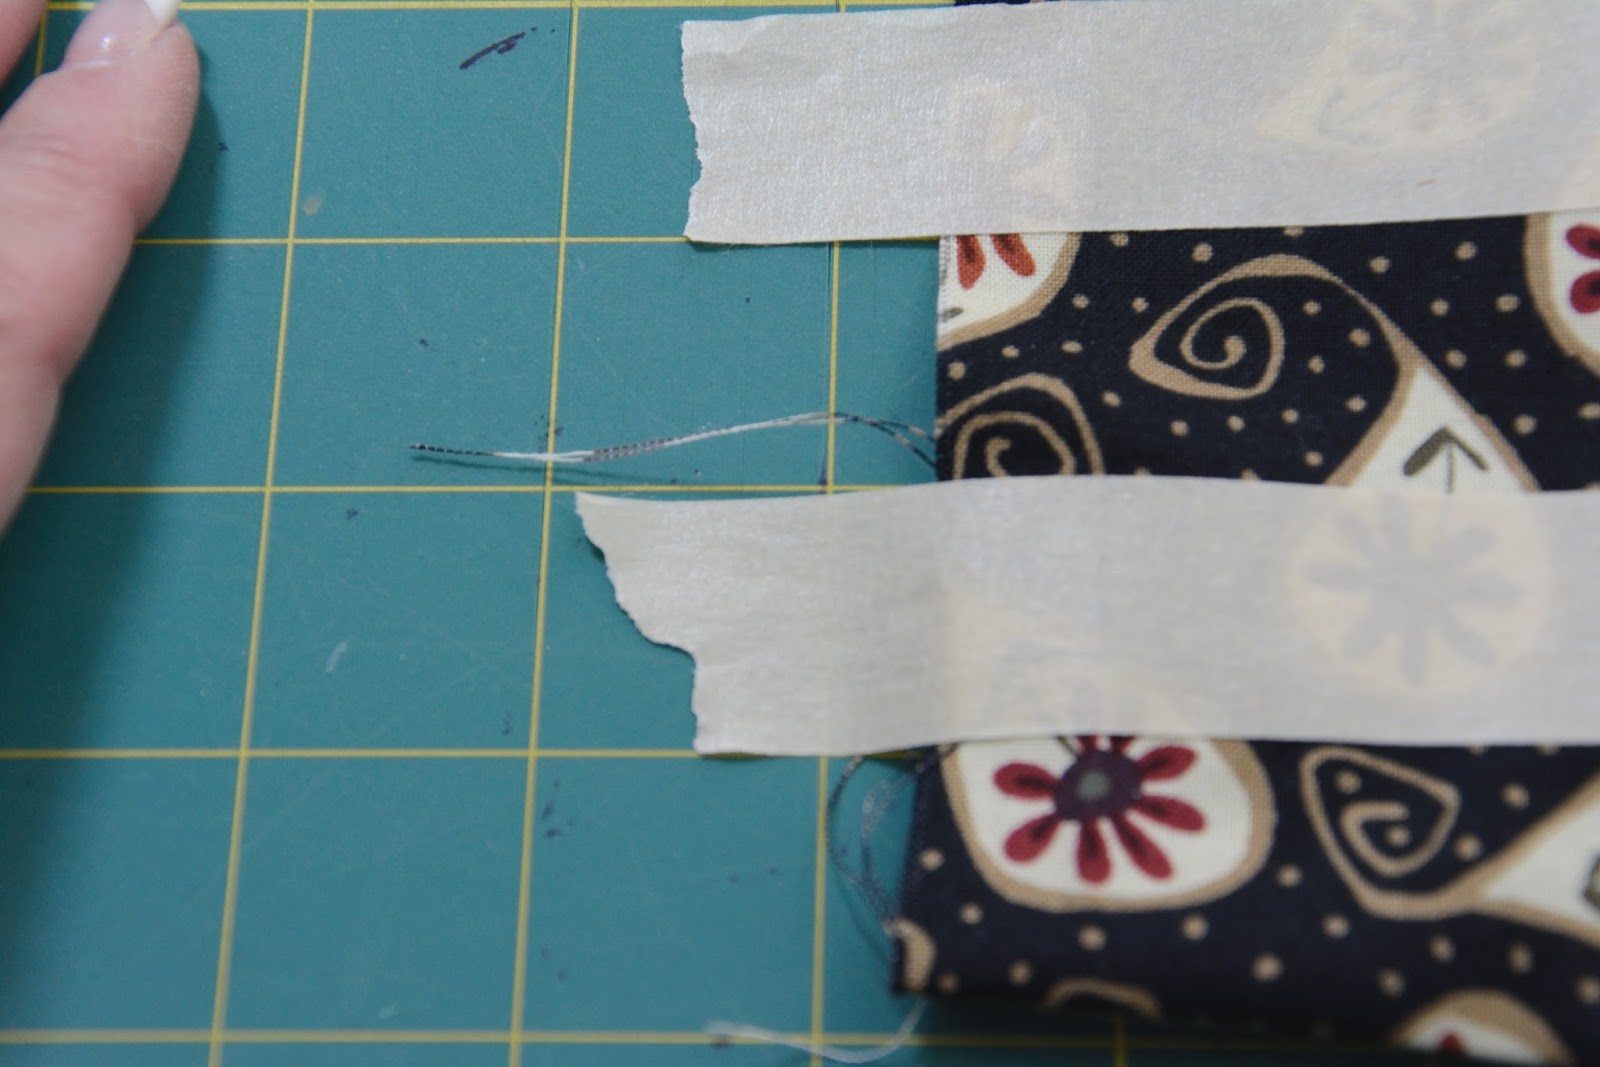
Fold raw edges inside and pin them. Place masking tape evenly spaced across the width of the sleeve. (I taped first, then had to remove tape and fold in and pin these edges…)

Using the walking foot, quilt on both sides of the masking tape. Note:
you are quilting before you turn this sandwich tube into a laptop
sleeve…

Now, fold the sleeve in half as shown (lining outside). Note: line up stitched edge with where the batting ends on the back side, so as to not to shorten the flap.
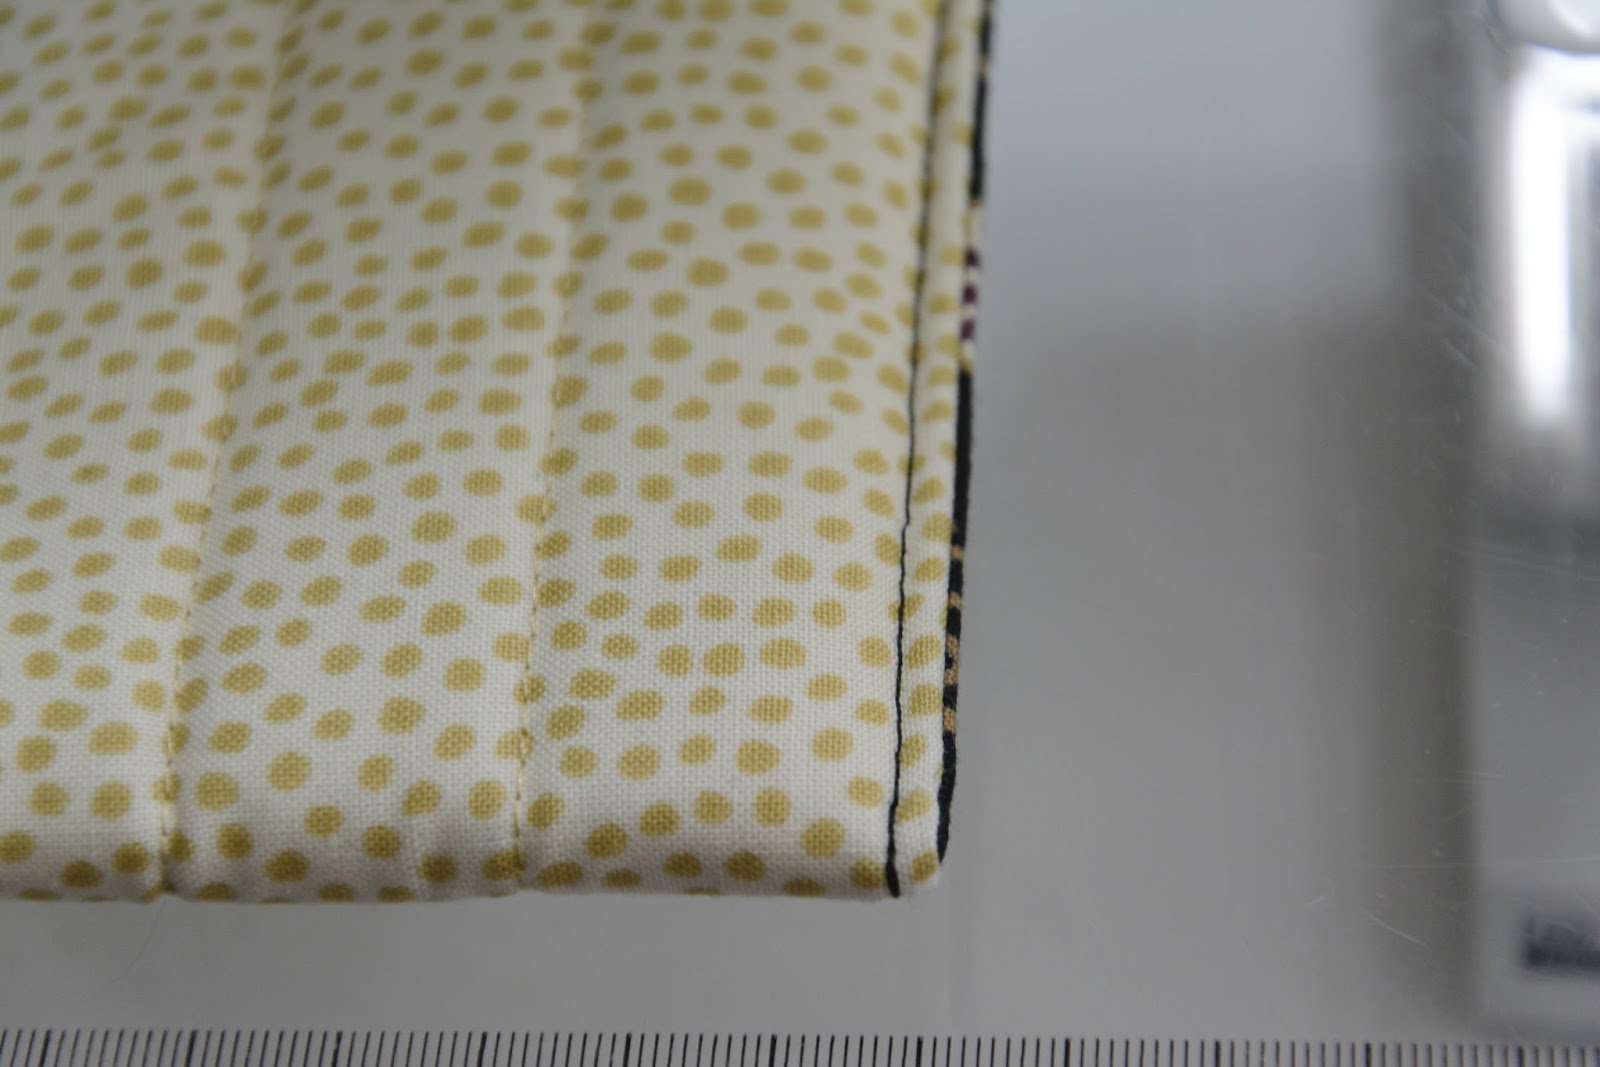
Stitch three sides (this is when I stitched the raw edges I had turned in when I was quilting, saving a step), leaving about 1/8 in. as seam allowance.

Flip sleeve inside out, fold in flap sides and pin. Starting at the folded flap, topstitch all the way down on both sides. This will hide the inside seam, making for a nicer finish.
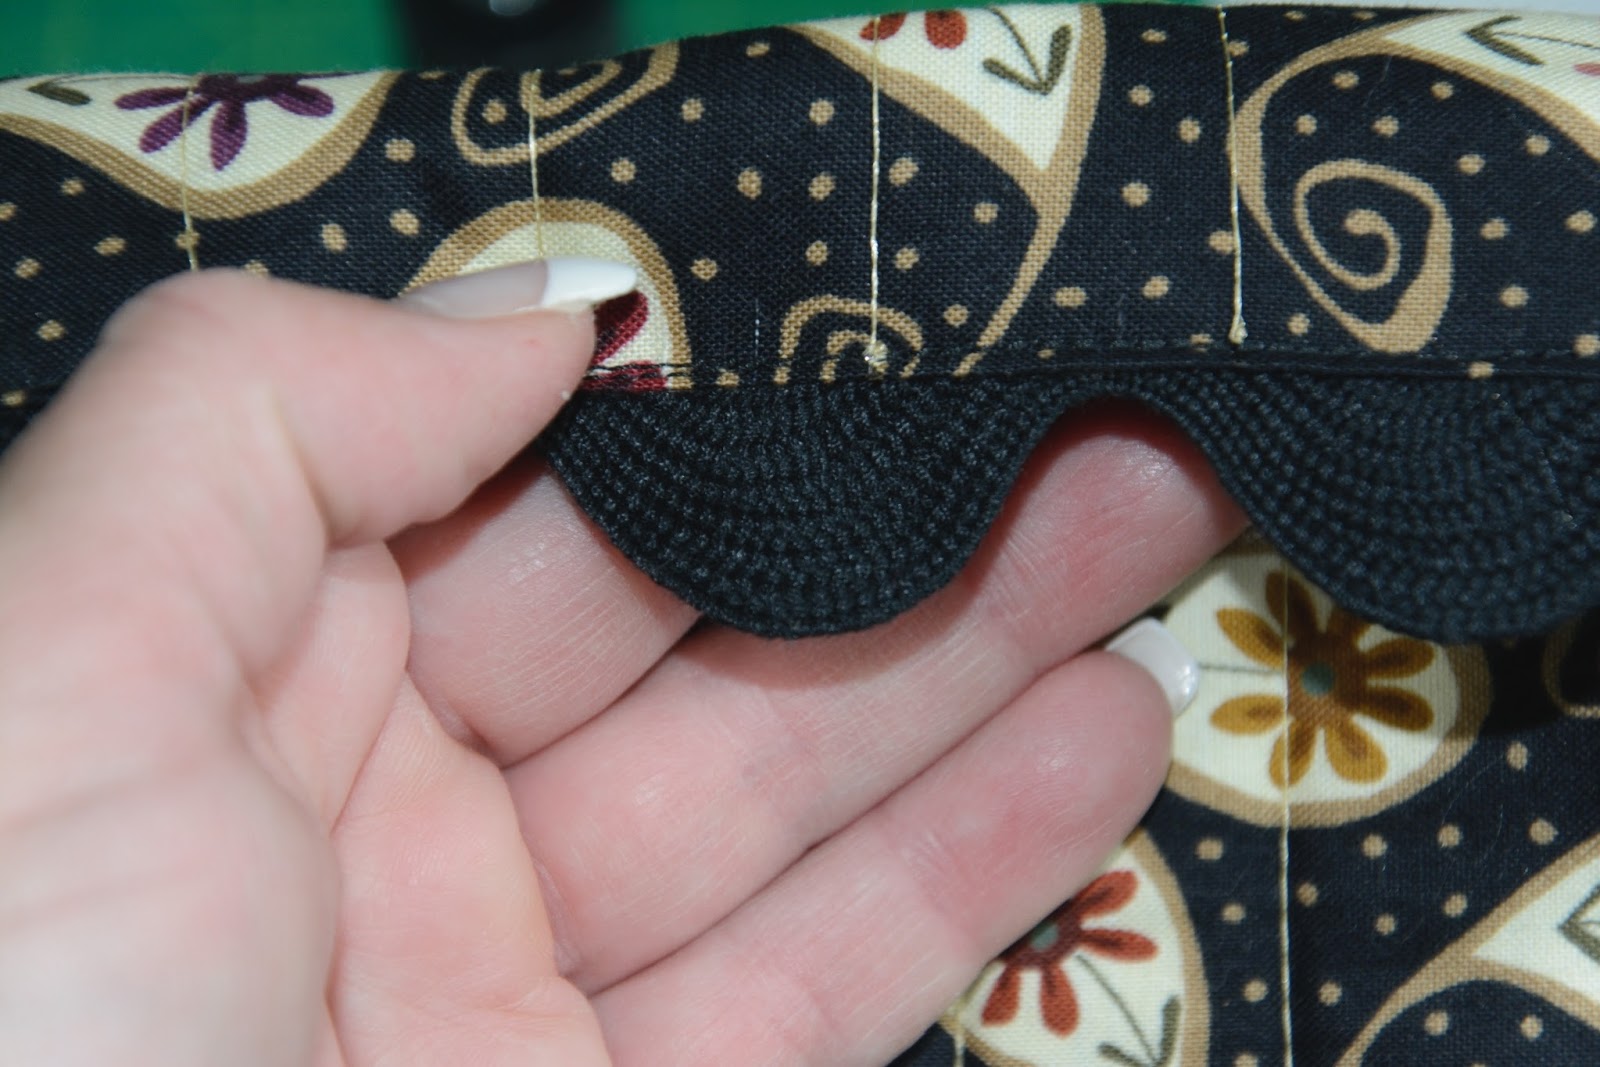
Pin and stitch the ric-rac, folding its edges in on both sides of flap. Yes, I added the Velcro strips last…

… and it all worked out! This laptop sleeve is extremely lightweight because of the Soft and Stable, a product I absolutely love (you can find it here).

Pretty simple, huh? I hope you enjoyed this tutorial. Send me pictures of yours if you decide to make one, and be sure to share this link with your friends.
Happy Monday,
