I am always looking for quilt border ideas to jazz up my projects. At times, horizontal strips just won’t do, right? Other times, no border is required such as in this free quilt pattern you can download. In this post, I will show you how I made the blocks to enhance a pre-printed panel. However, you can use them around blocks, too.
[Edited: June 22, 2020]

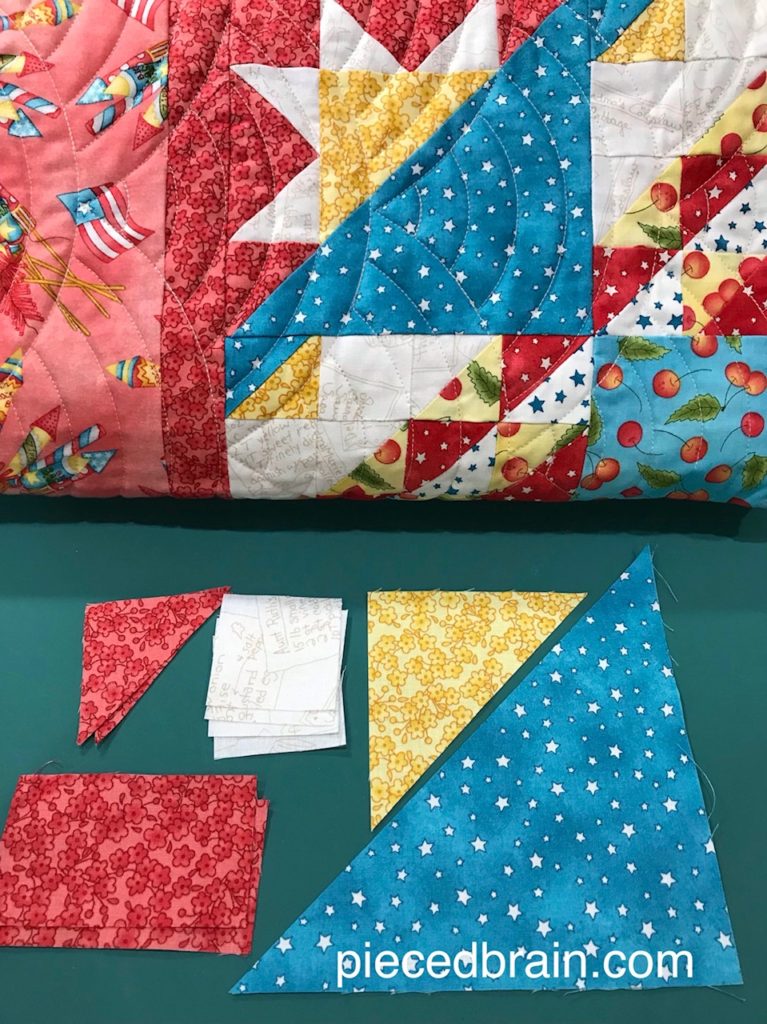
This is my quilt “Let’s Party”, just published in the Summer 2019 issue of Quilter’s World Magazine. It features Maywood Studio Fabric’s collection Back Porch Celebration by Meg Hawkey of Crabapple Hill Studio. The center panel is super fun and I chose border blocks to set it off. The quilt measures 58″ x 70″.

The pattern is easy to follow in the magazine. Yet, I love these blocks so much that I decided to show you how I made them. The overall design looks complex but when you look at the steps below you will see I used super common patches and the construction has no secret to it.
That is what I search for on auditioning quilt border ideas for many of my quilts and want a more intricate look to the final quilt design: are the block components easy to make? Check. Could a beginner or advanced beginner quilter be tempted to try it? Check.
So, here it goes:

Let’s begin with this block. All the cutting instructions are on page 48 of Quilter’s World Summer 2019 so I will skip that part here.
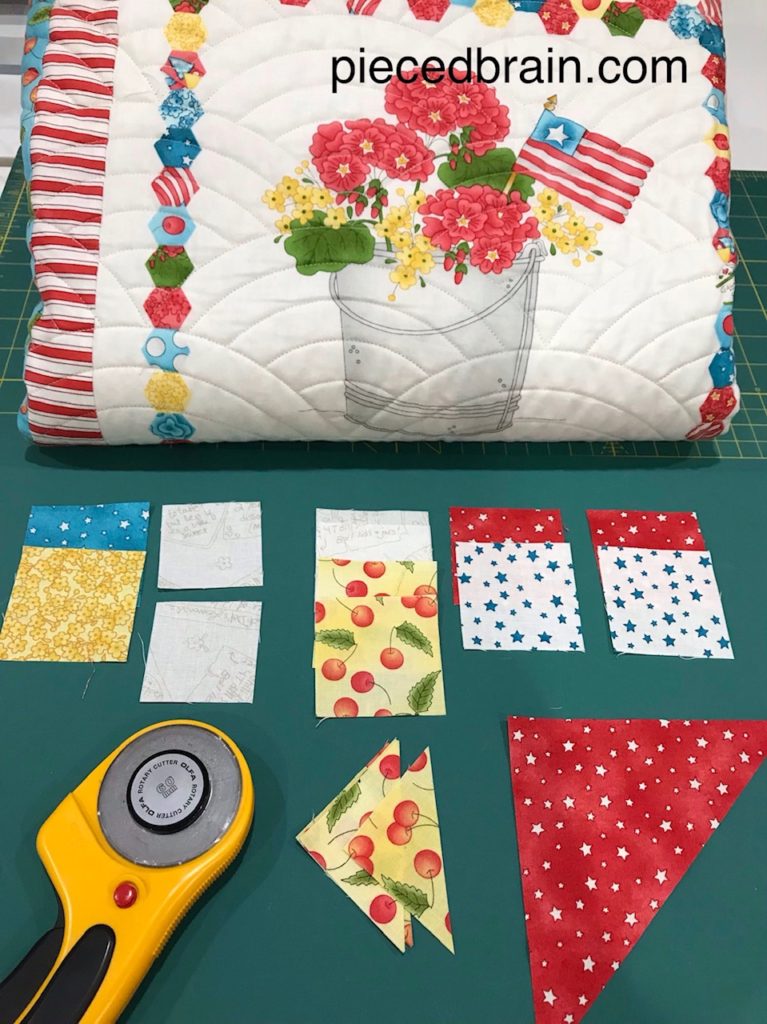
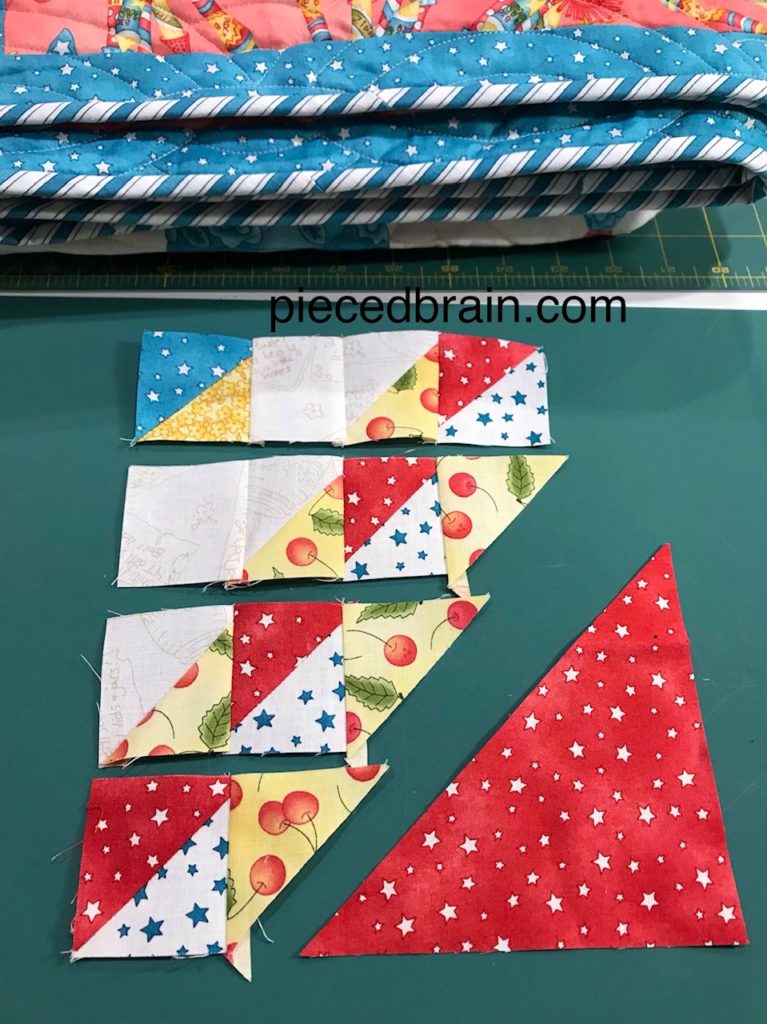
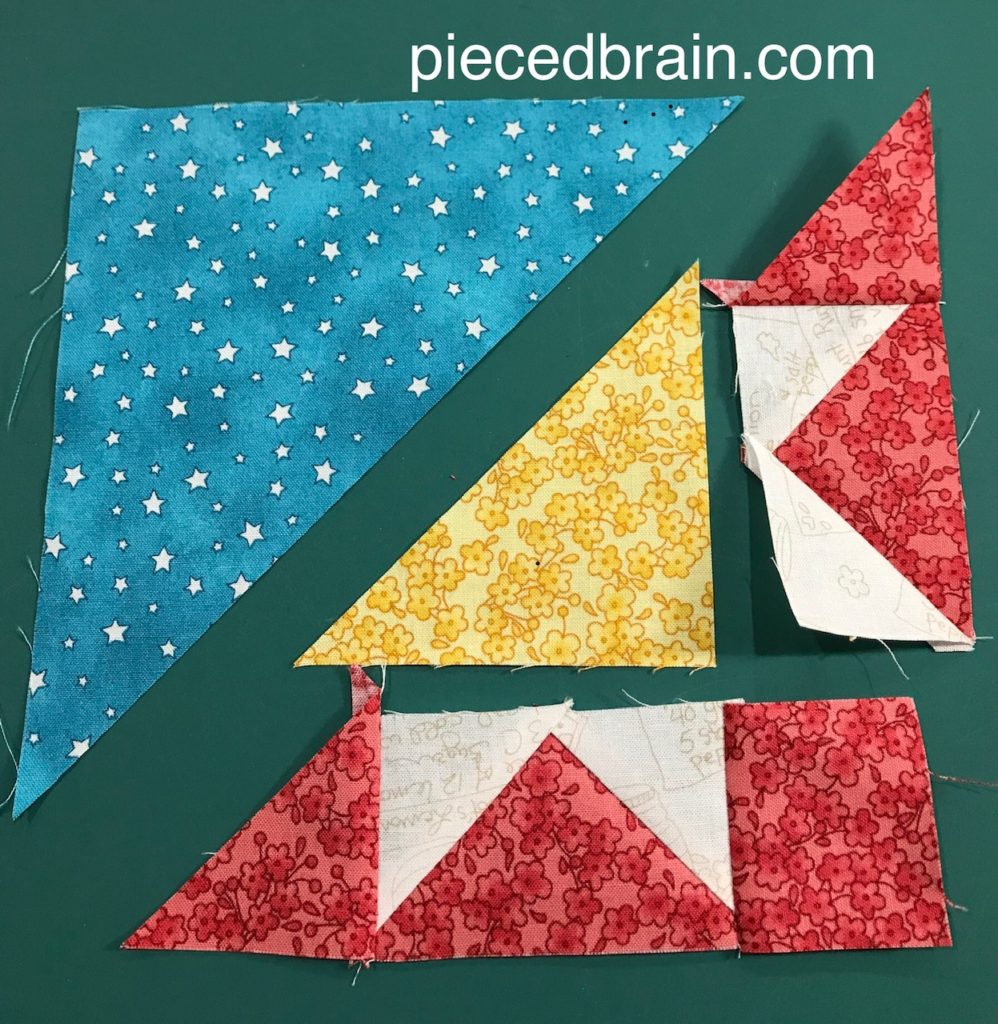
These are the pieces I need for one block. I will make half-square triangles next.
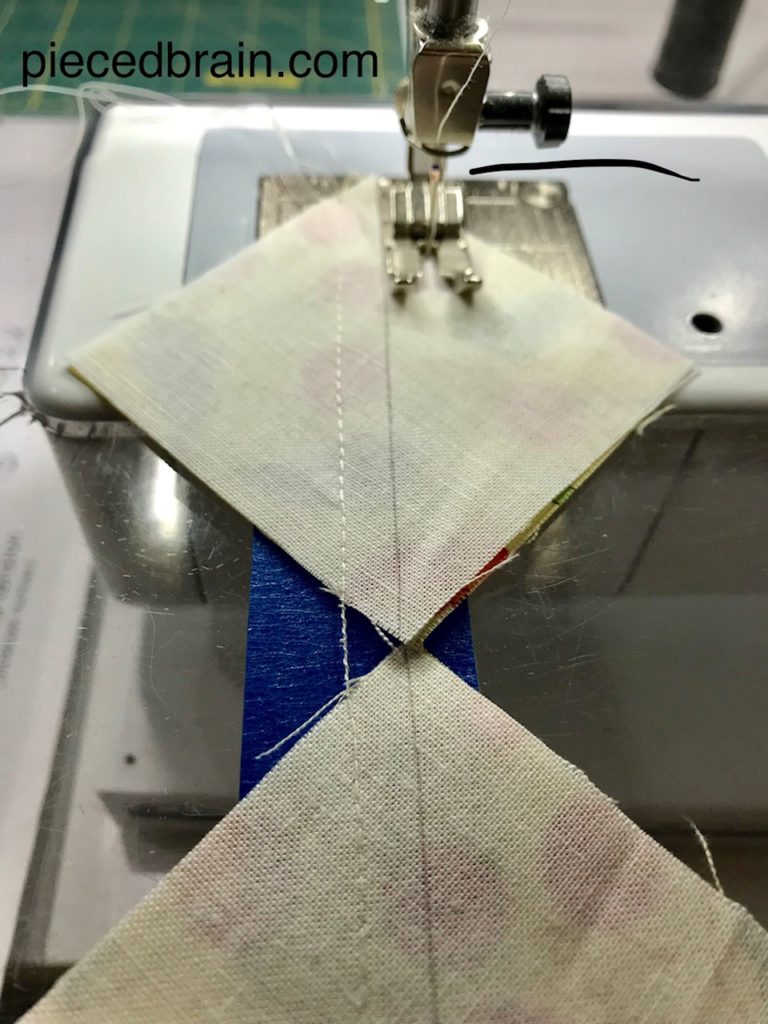
I chain-pieced the patches and you will do the same as you will be making 28 blocks. See that strip of painter’s tape next to the Bernina? Stay tuned for comments about it later.
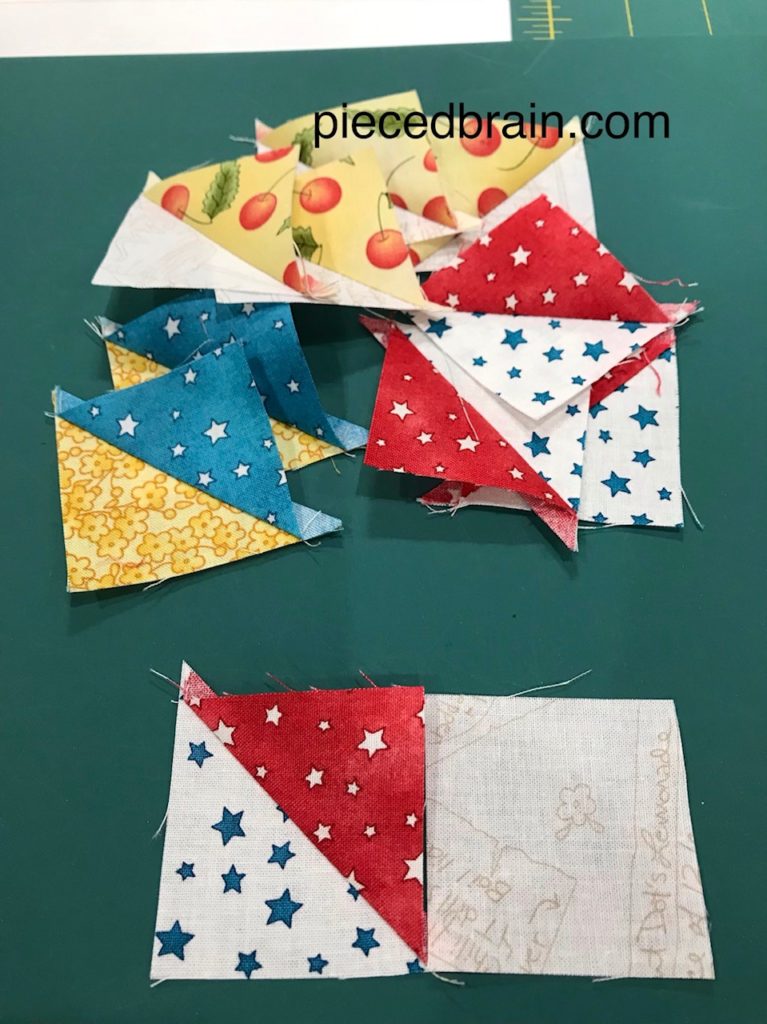
I know the half-square triangles turned out fine because I placed them next to the square they will be joined to and there was a perfect match.
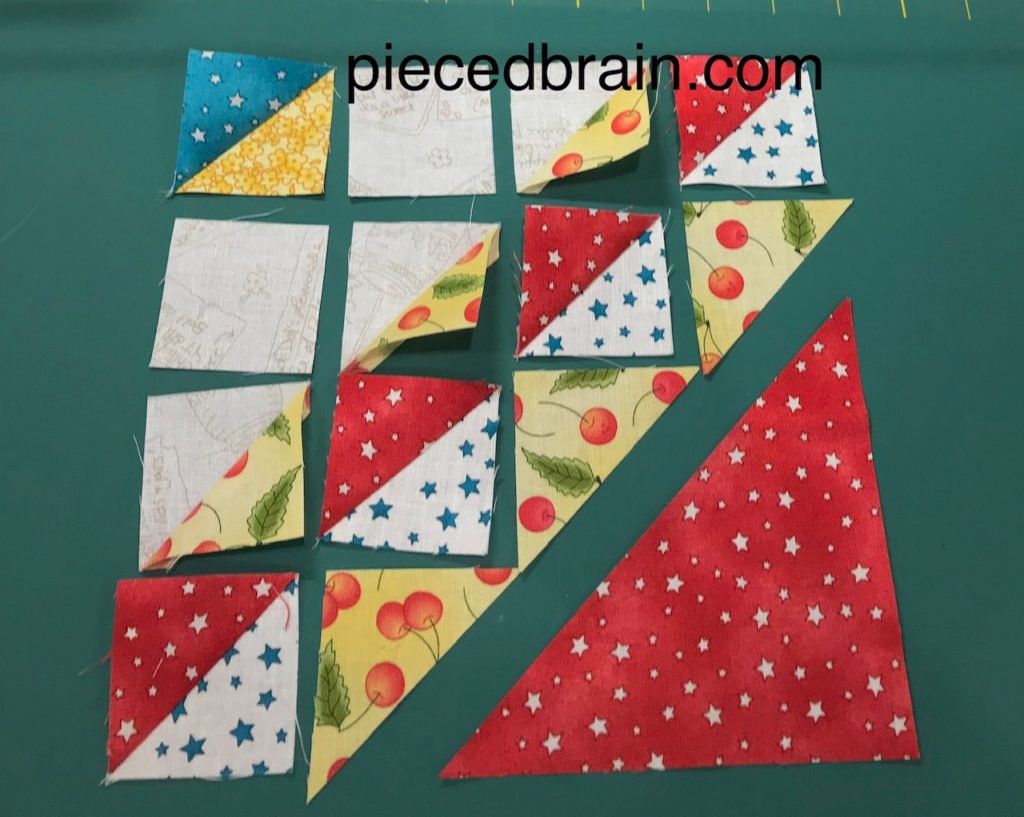
Next, I place all the patches in order next to my sewing table and begin the block assembly. There are a couple of ways you can go about it: sew the patches in columns then sew the columns together, or sew the patches row by row. I will demonstrate the latter.
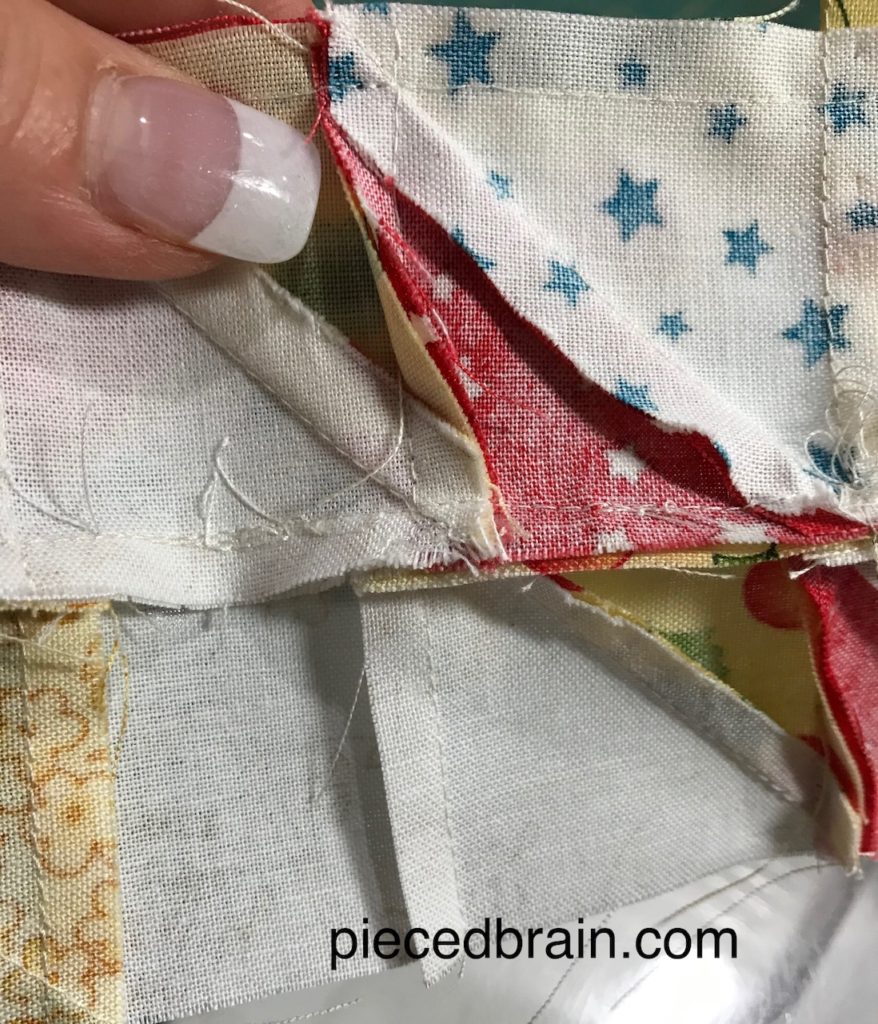
Notice that the triangles at the end of the rows fit well.
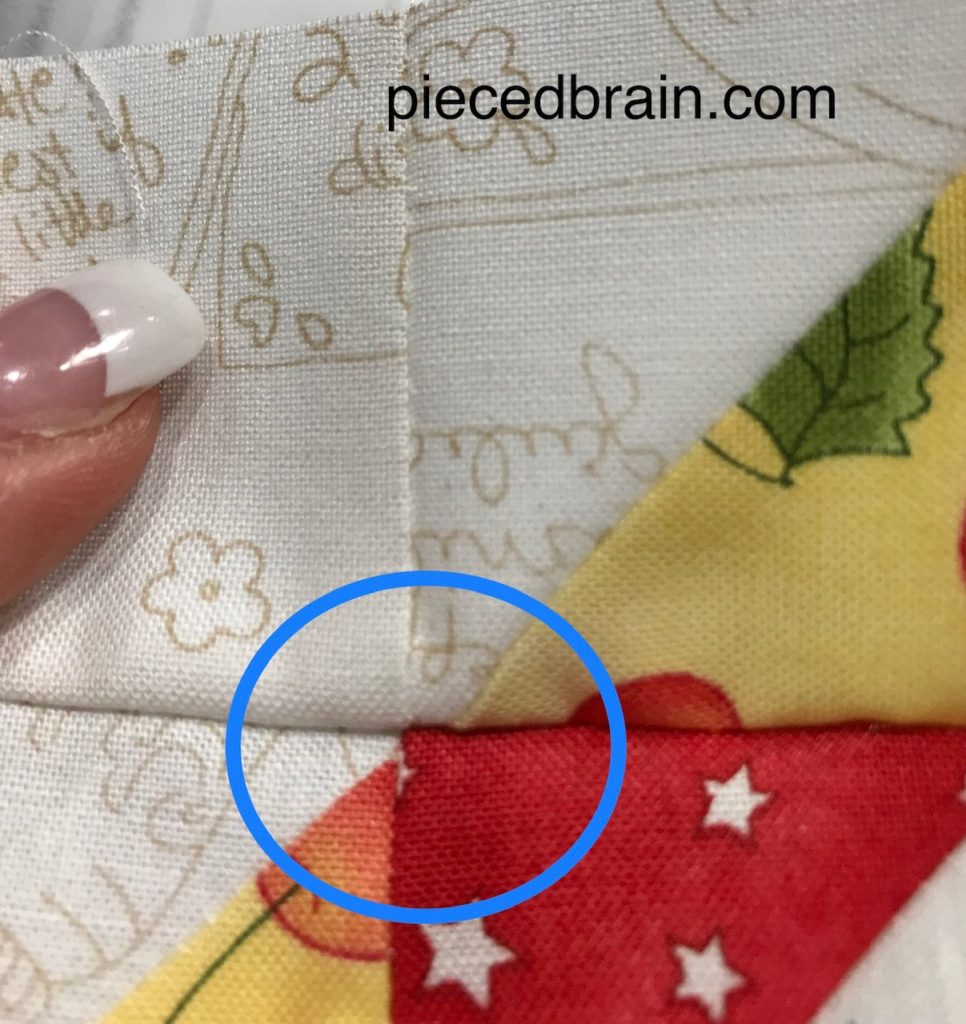
I check every seam after I stitch it. Notice the spot in blue – this won’t do as it will mess up the design. Jack the Ripper goes into action…

That’s better!
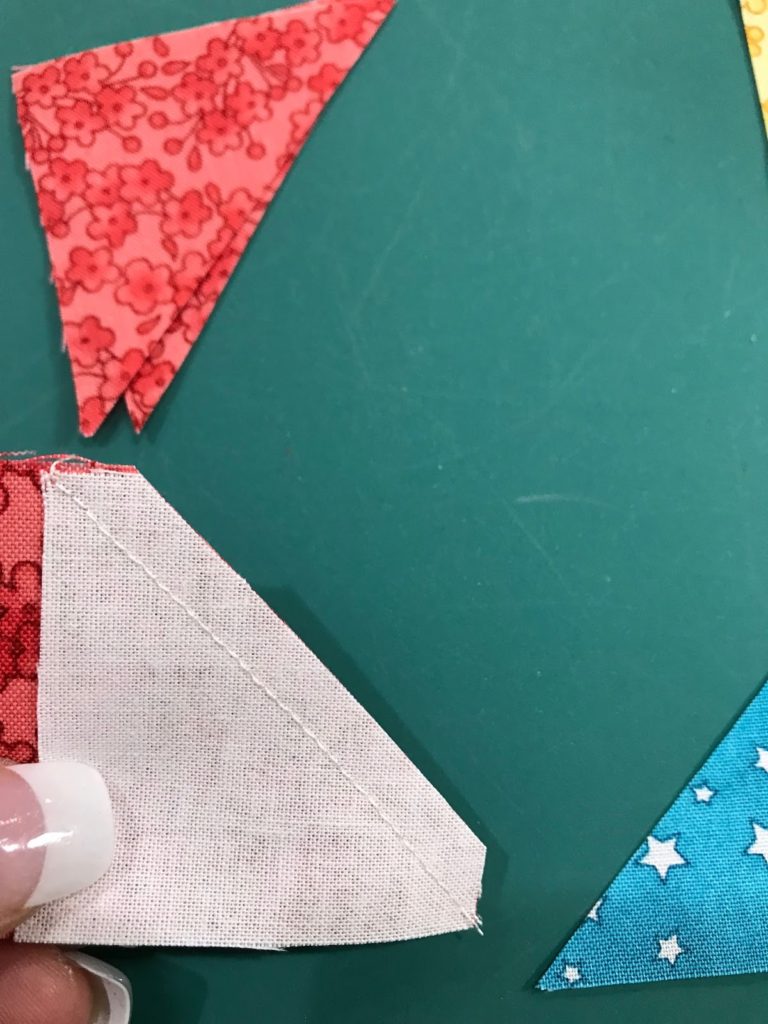
There is no trick here. The seams align well as long as you use a 1/4″ seam. No need to stretch, fudge, curse, reach for some chocolate to calm the nerves…
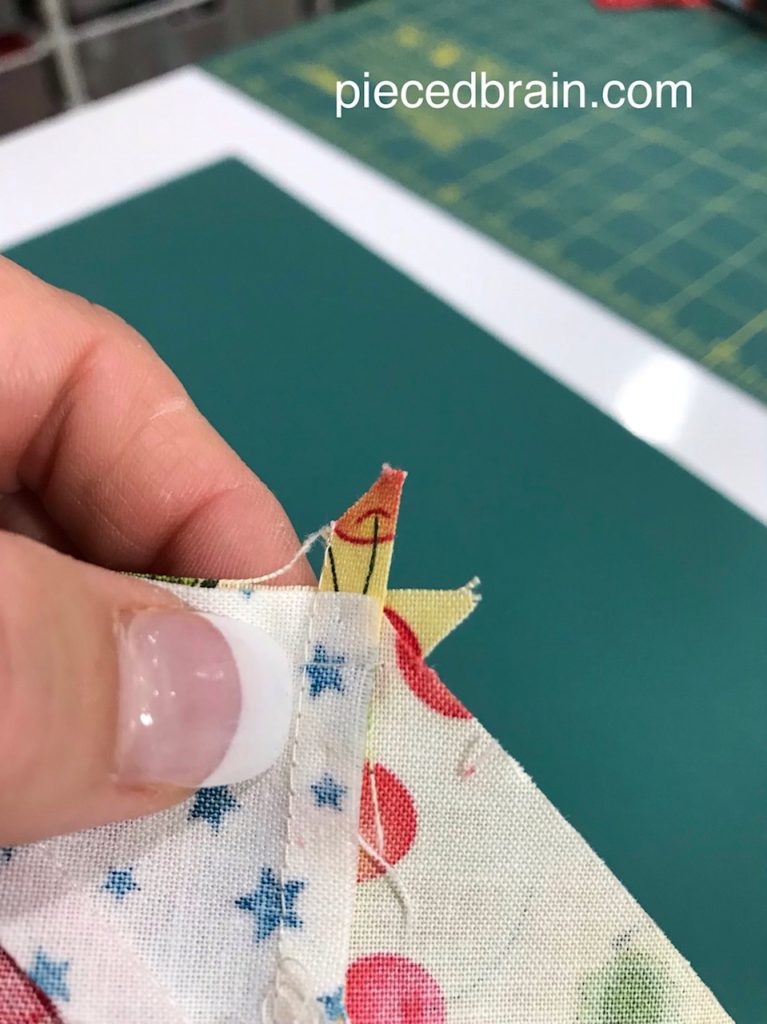
After pressing the patch I look at the back to see if the seams are laying flat. That one is not but I will make it!
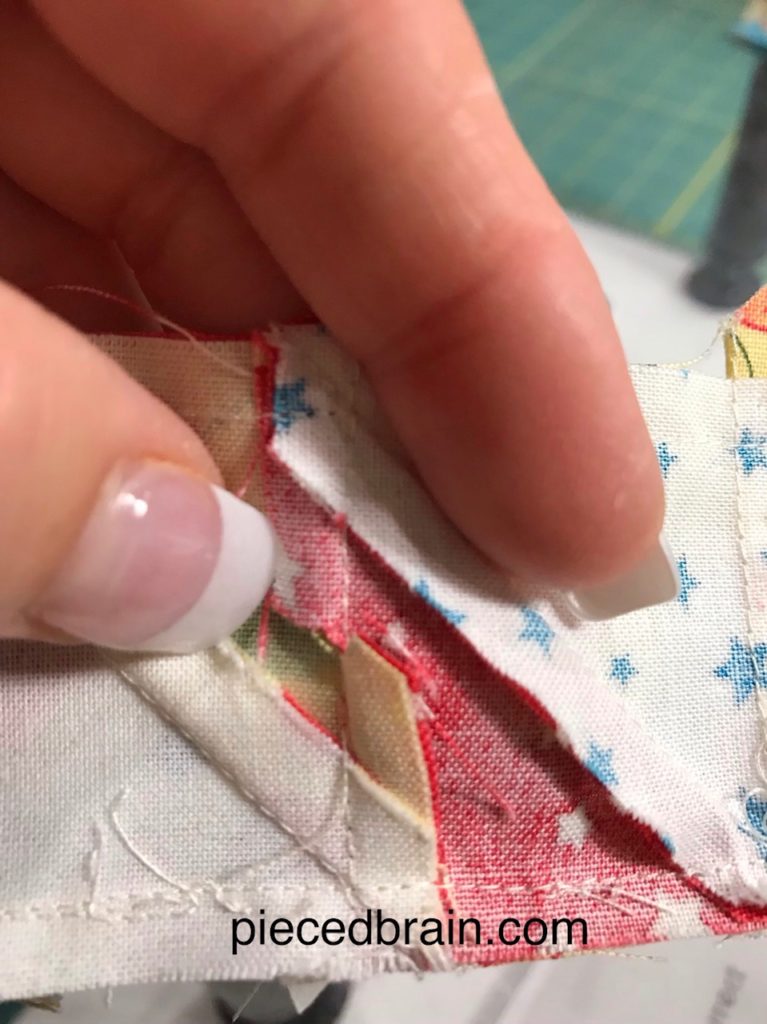
I snip a V where the seam is unruly, and the problem is solved. I am careful not to cut too deep and touch the seam with scissors.

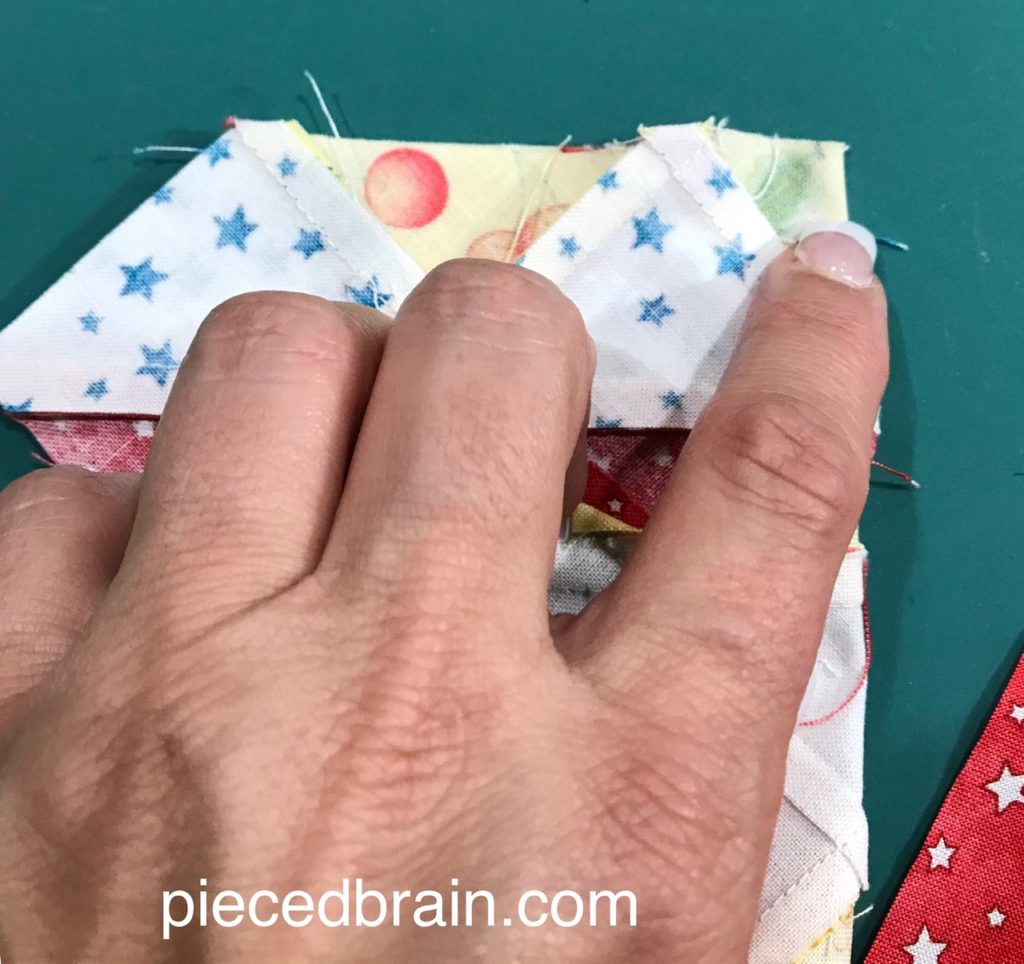
The block is almost ready.
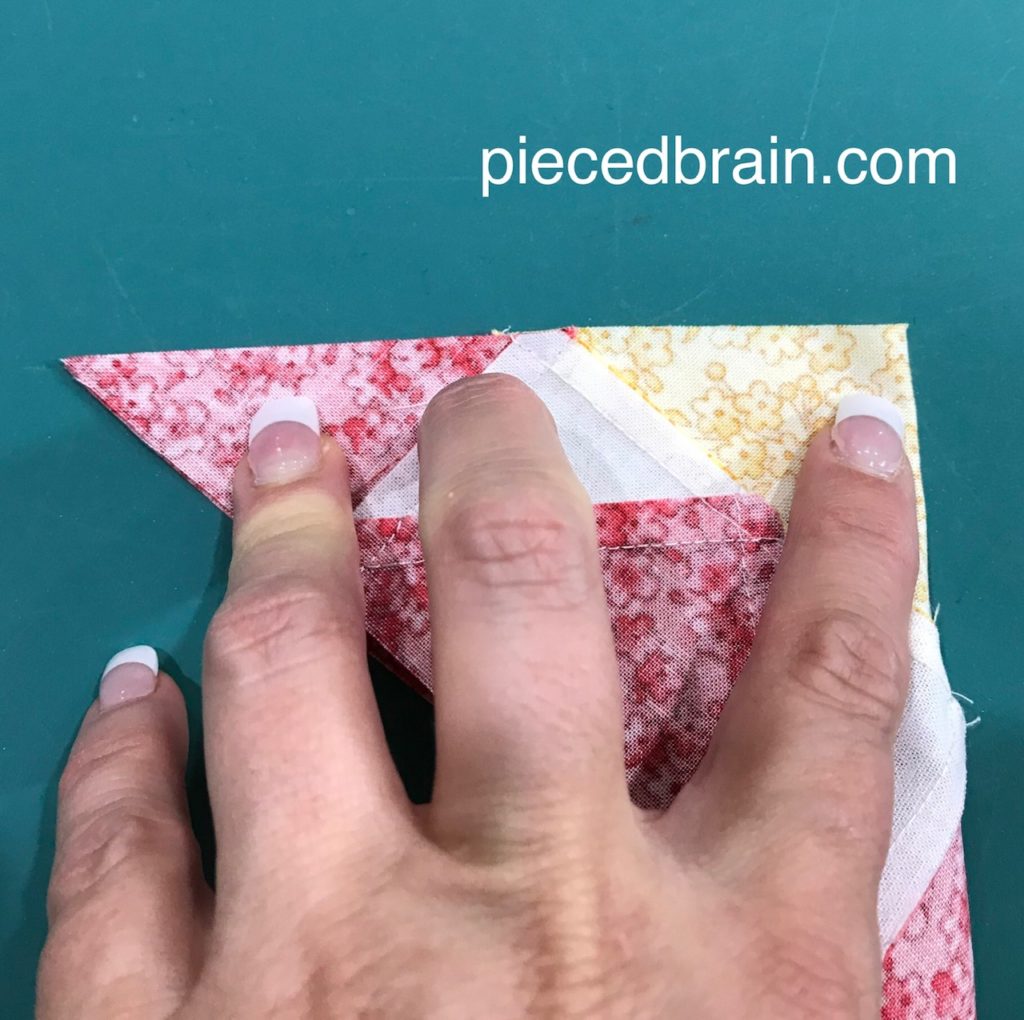
To add the red triangle, I fold in half the unit I just completed, right sides together, and crease the center.
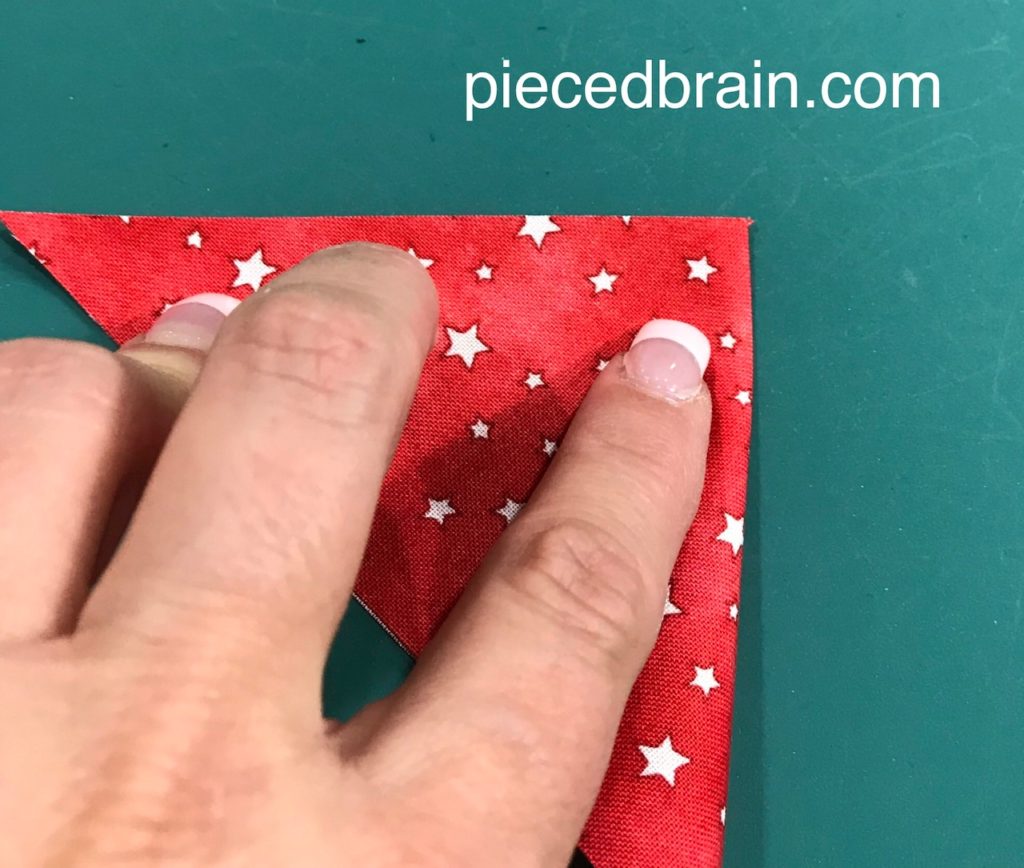
I then fold the red triangle in half, wrong sides together, and crease its center.
Now it is time to nest the creases…
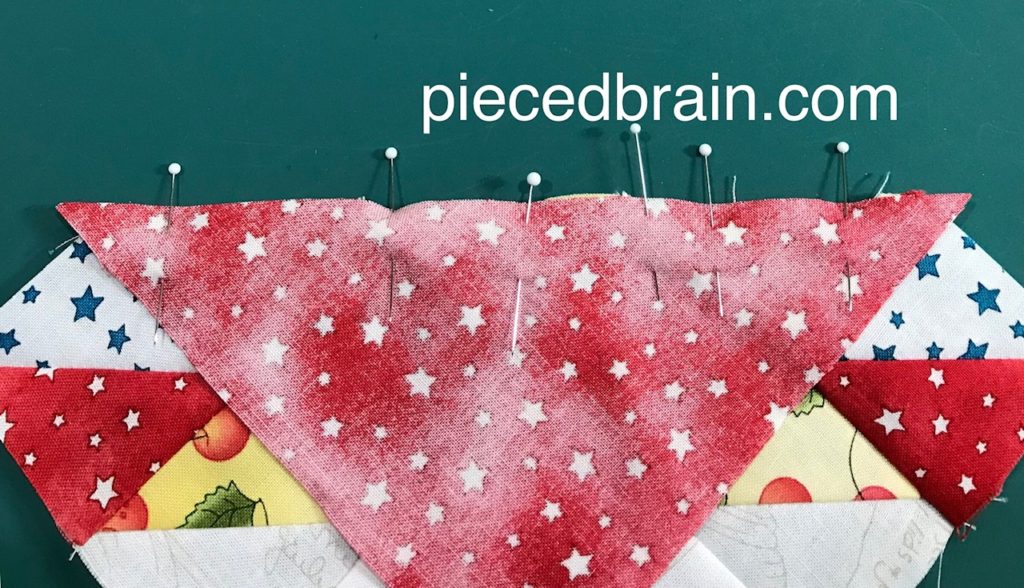
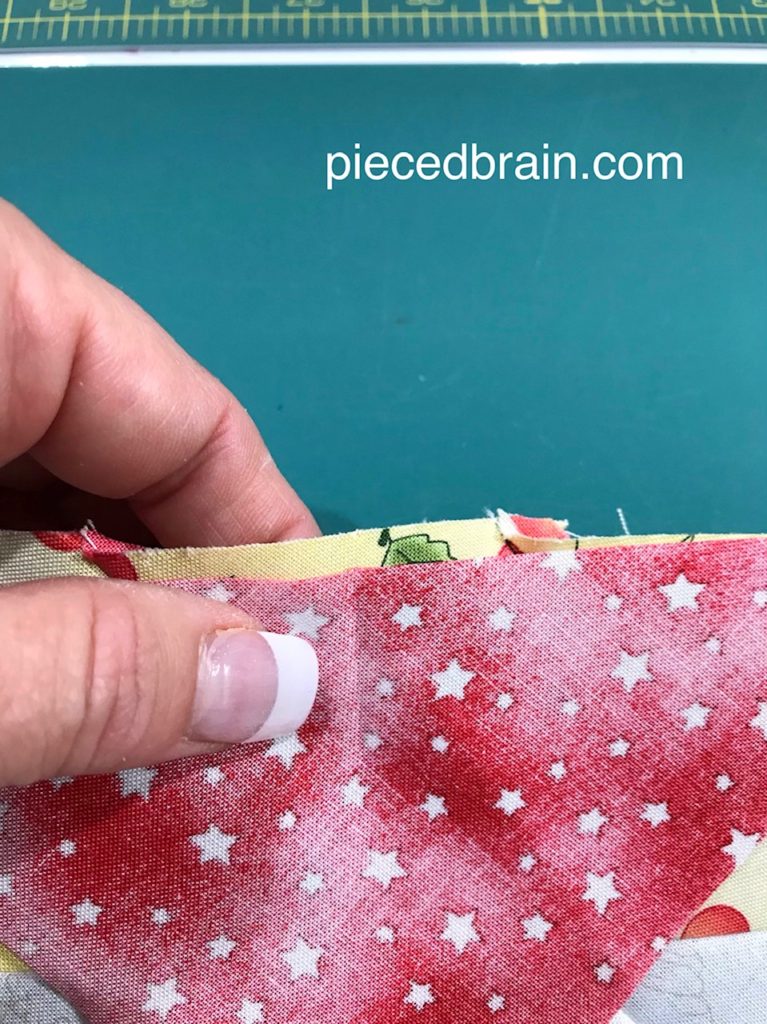
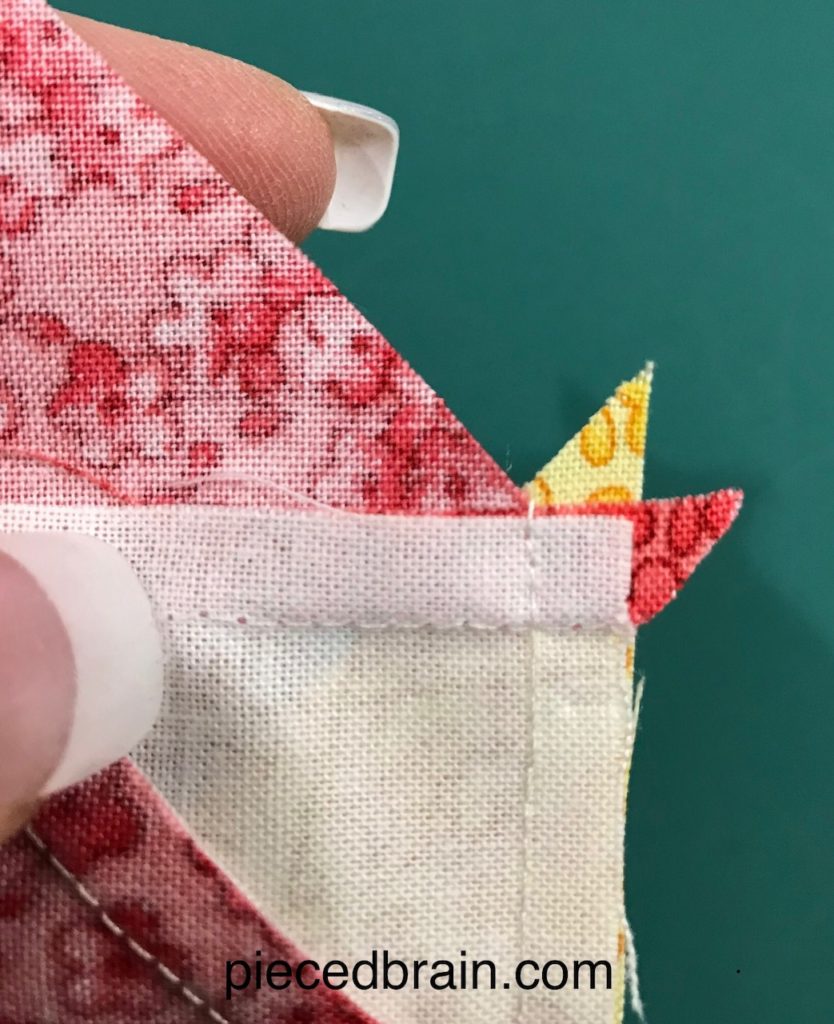
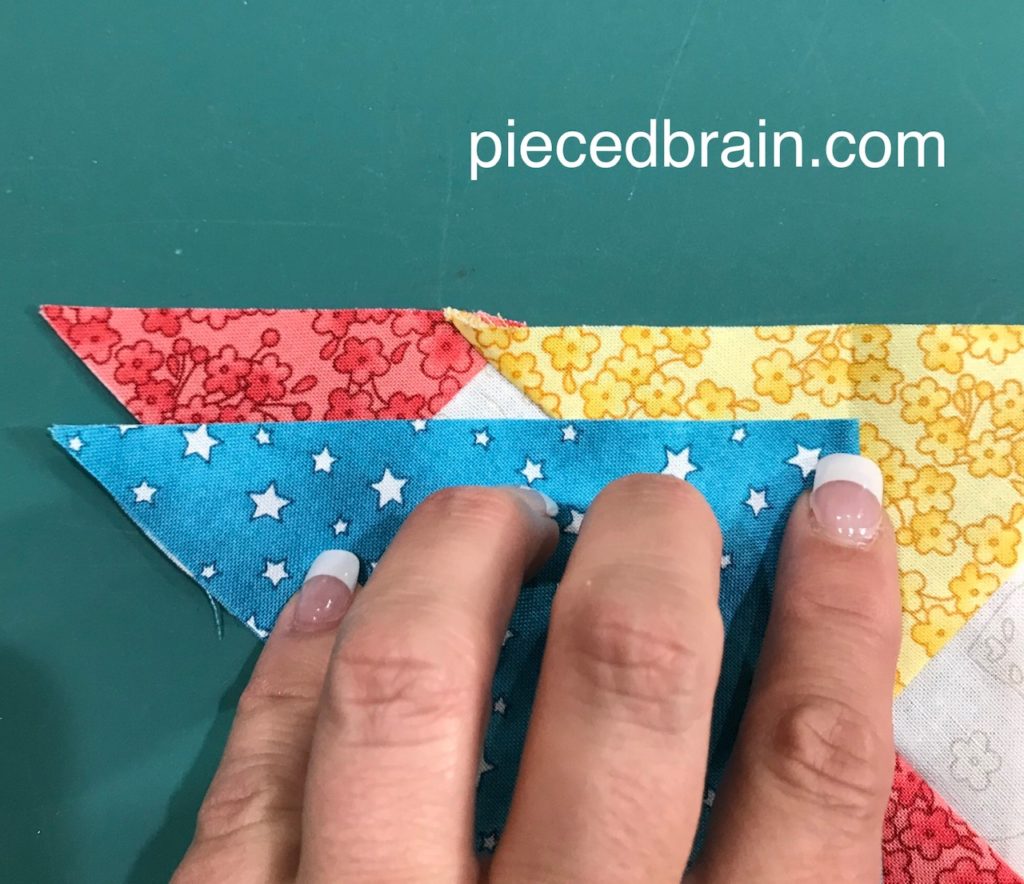
… pin liberally, and sew. Notice the ends of the triangle sticking out a cool 1/4″.
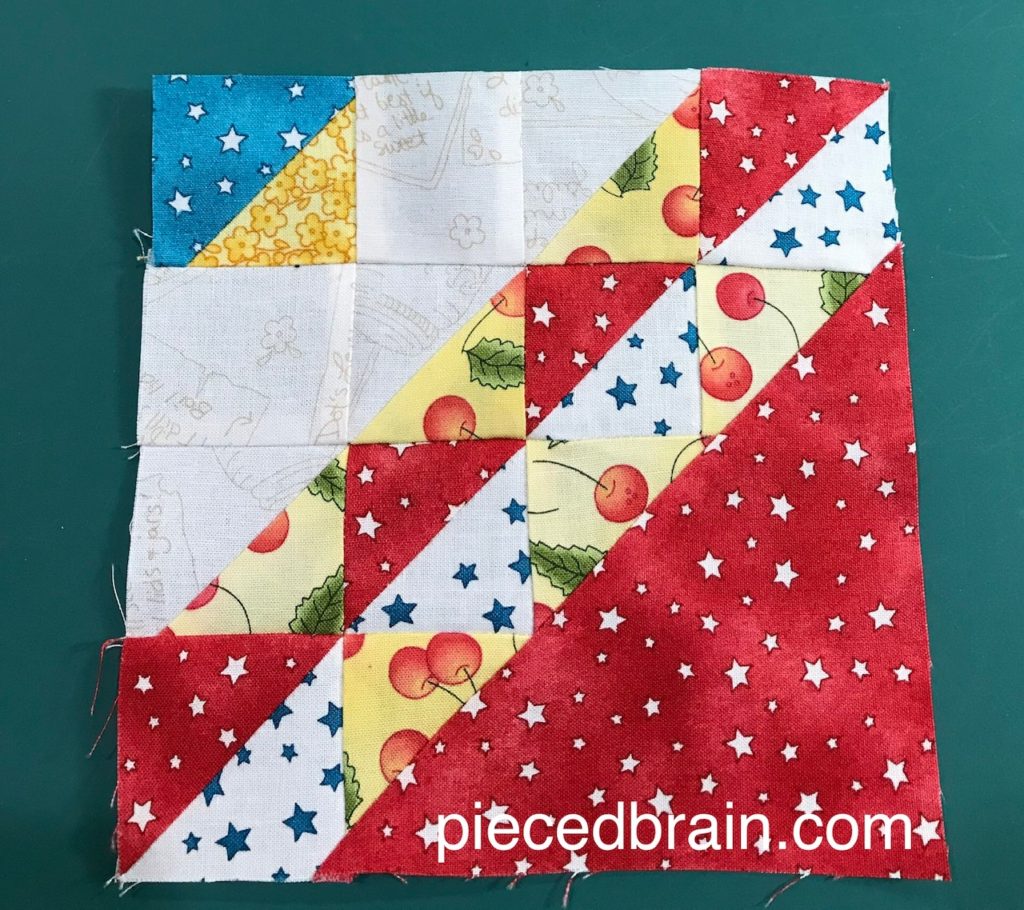
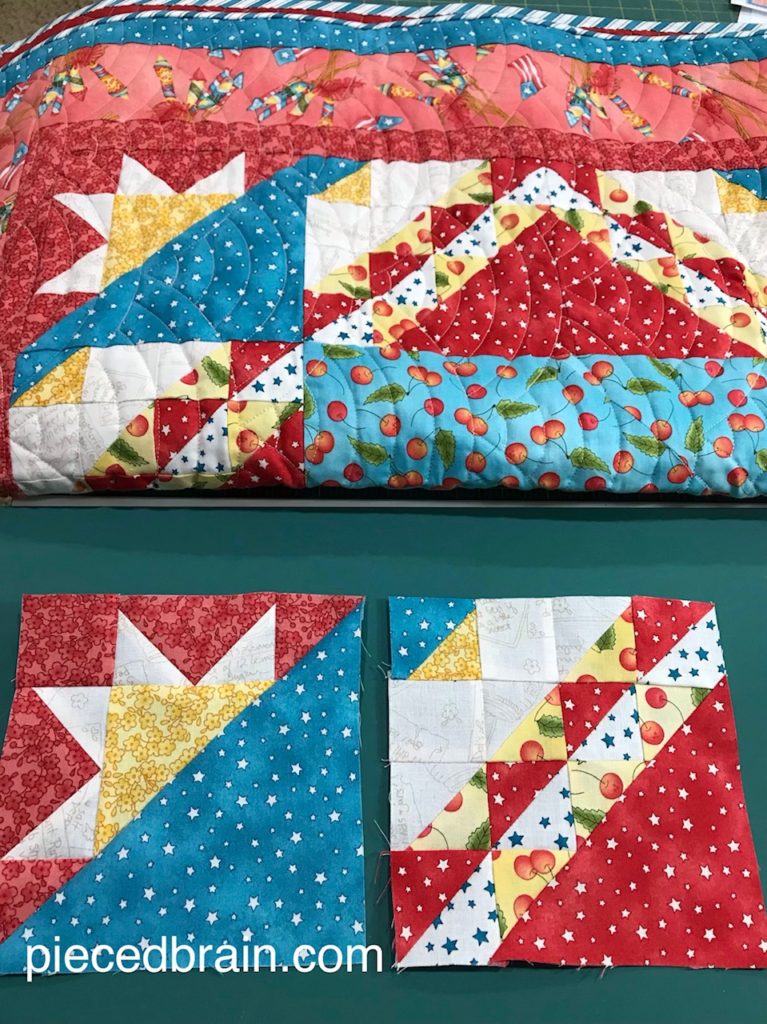
And here is Mr. Block number 1. How easy is that???
The next block is even easier!
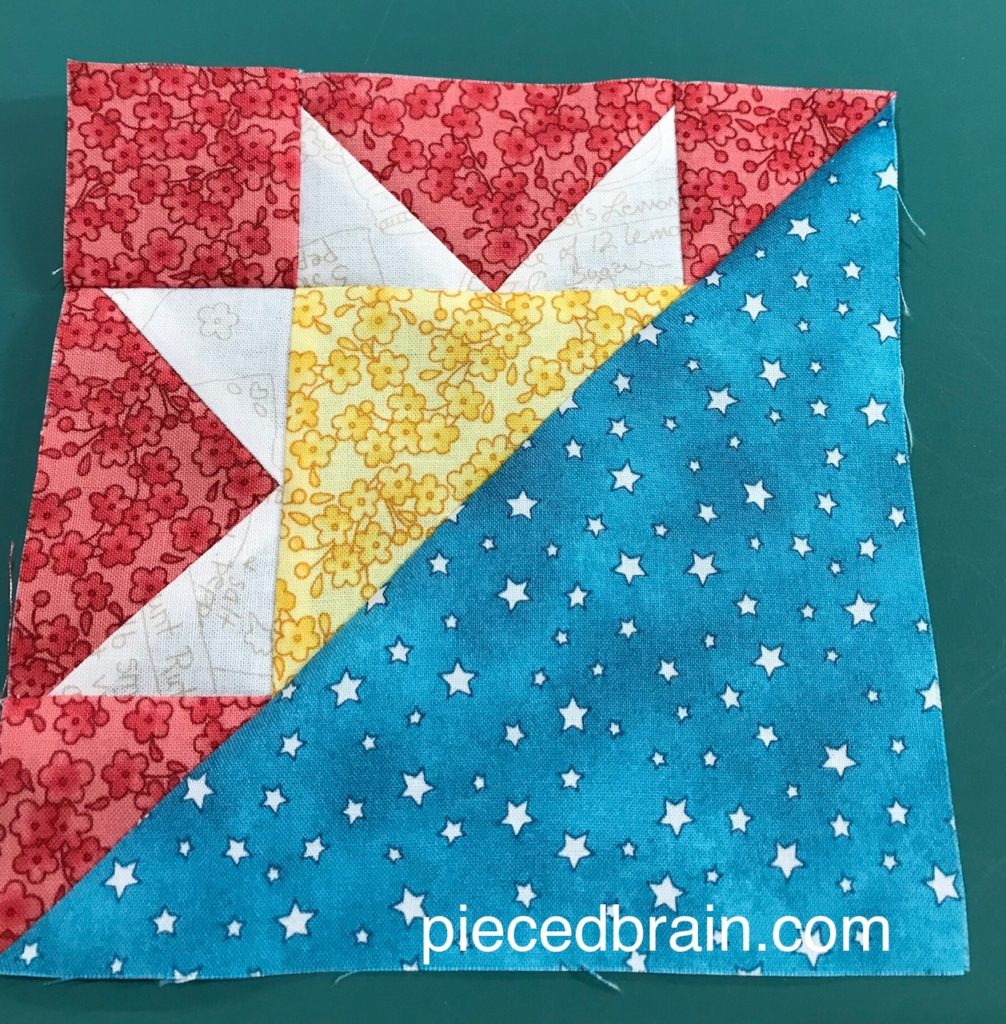
These are almost all the patches I will need – I left out from this photo the corner square.
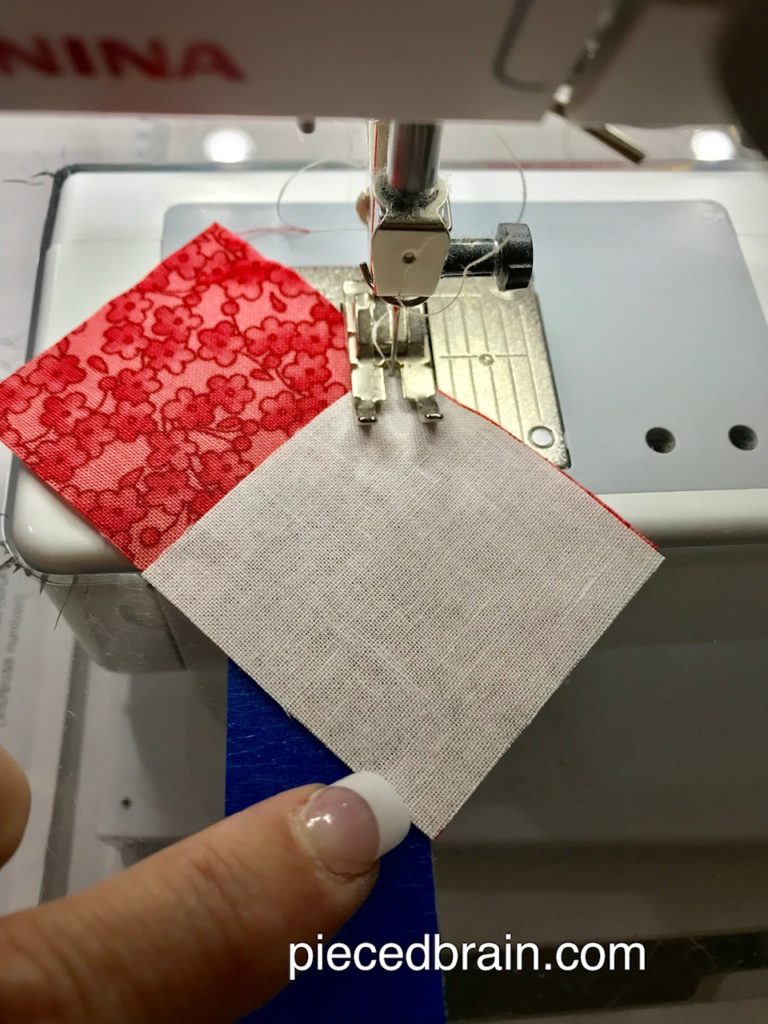
First, I make the two flying geese units. Remember the painter’s tape? Here it comes in handy. My friend Deb told me this is how she sews, and she is awesome at sewing and quilting, so I had to emulate her. I no longer mark the back of the squares for flying geese blocks and for other “stitch and flip” blocks, unless the squares are larger than, say, 3″. Position the patch, align its bottom corner to the tape, and make sure that the corner continues to line up with the tape while you stitch. Does it work? See for yourself:
Perfect straight seam.

Now I have all I need to complete the block.
The red corner square can be stitched either to the bottom strip or to the side one. I chose to join it to the bottom strip.
No magic here, you see. Just regular stitching with 1/4″ seam.

Here comes the sun!!! I really like this block.
I sew the blue triangle to the patch in the same manner as above, by nesting the creases I made to the folded units.

And here it is – be sure to remember these blocks the next time you need quilt border ideas. And aren’t these fabrics so cute?
There is no secret to putting these blocks together as you saw. Just plain old ‘mind your seams’.
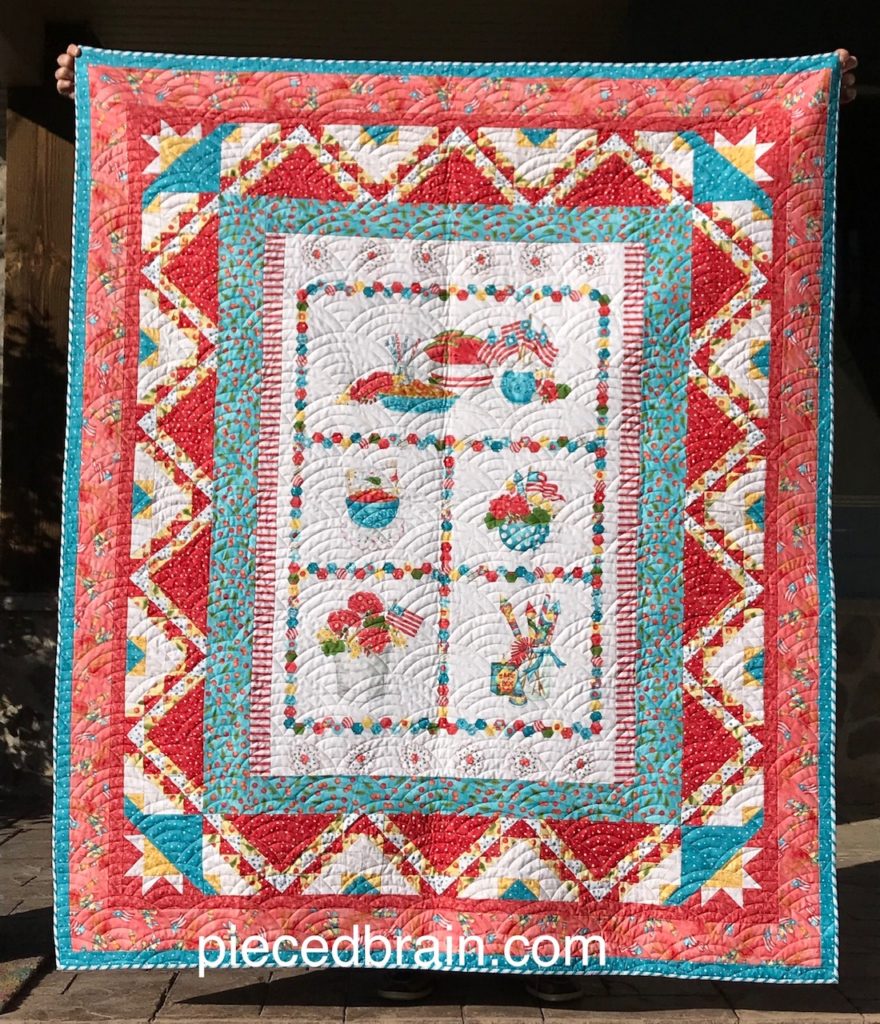

I love how Melissa Kelly from Sew Shabby Quilting quilted it. Simple lines reminiscent of the wind on the flags of the center panel and on the borders.
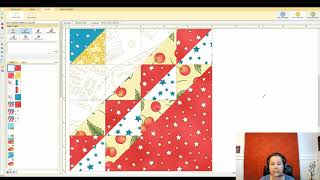
Here is a YouTube video where I show you how I made the decision to assemble these blocks the way I did. It is a quick video with the Electric Quilt Software with an alternative way to put them together, and why I did not choose it.
I hope this has been helpful. Have a fantastic day!

I like those blocks! They would work well to frame any panel.
Absolutely!
I have this magazine! My friend mailed it to me for my birthday! Thanks for your photos showing how to sew it! Watching the 4th of July celebrations and hope you have a good one also.