Wall hangings are a fun way to add pizzazz to any area of your house. It will quickly take a corner of your wall from blah to glam, while adding a touch of whimsy, too. And whimsy is what I was going for, so let me show you how to make a quilted wall hanging with teapots.

[Edited June 13, 2020]
This quilt reminds me of my grandmother, and I will call it “Grandma’s Cupboard”. I raided my stash of blue fabrics, choosing fabrics with small prints to emphasize the shape of each teapot (except for the butterfly fabric, which I purposedly used on a large teapot).
Teapots are reminiscent of fun afternoons with family, of long conversations with friends, or a quiet evening with a book. Just writing about it seems to bring to the room the aromas of Earl Grey, Jasmine, or Lemon tea. Can you smell them?
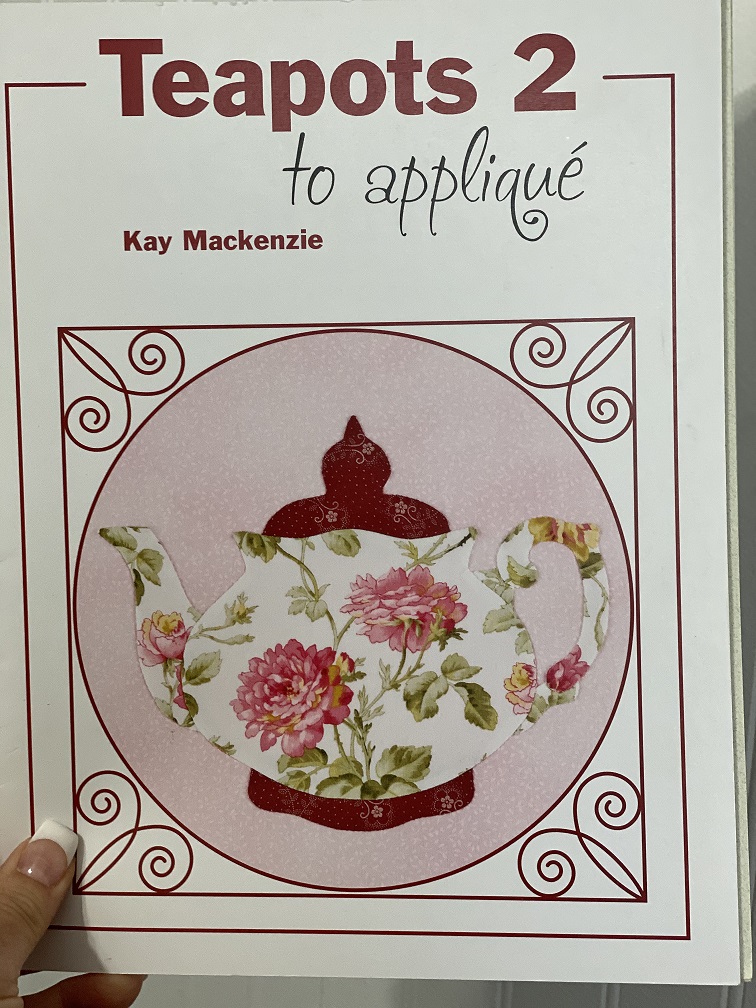
I have been wanting to make a quilt with teapots for a long time, and finally got around to making it. Although smaller than the one on the pattern I saw on the book Teapots 2 to applique’ by Kay Mackenzie above, I think it turned out very nice.
There are 13 teapots to choose from, one cuter than the other. This is one of those books you do not lend to anyone! I love the teapot shapes, the project ideas, and the possibilities. Kay included templates for teacups and saucer, creamer, sugar bowl, and milk bowl – I am thinking a cool table runner with them would look great in my family room.
How to make a quilted wall hanging with teapot
Choose the templates

I chose 6 of them because I was creating a small project. Next, decide if you will hand applique’ or machine applique’ them. I prefer to machine applique’ – my forte – so next you trace them onto fusible web.
Trace shapes onto fusible web
Lay the shape onto a lightbox or a windowpane. Trace it on the smooth side of the fusible web (Heat’nBond Lite is what I work with). Then, cut each shape 1/8″ outside the outlines.
Fuse shapes to fabric
Following the fusible web manufacturer’s instructions, fuse each shape to the wrong side of the fabrics you selected. Notice that the teapots will be facing the opposite direction of the traced shape. So, you can reverse the way their direction by flipping the templates to the right or left before you trace them.
Machine applique’ the teapots
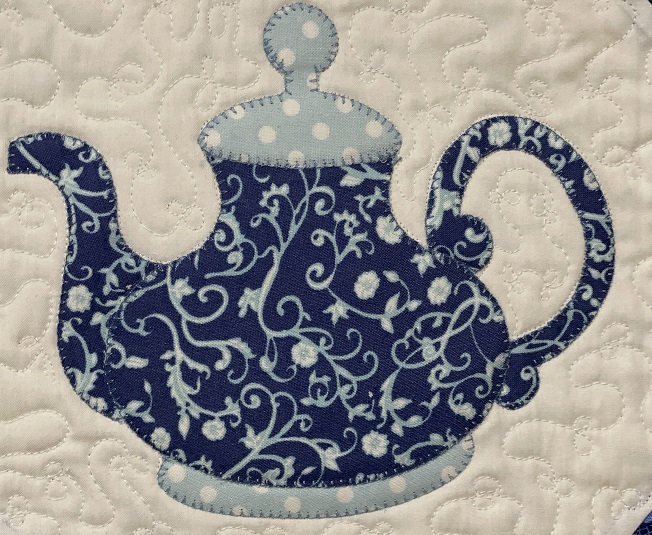
After fusing them, machine appliqued each one with blanket stitch (well, that is my all-time favorite!) and matching threads. I use 40wt. thread on top and in the bobbin. No, I do not use interface under the background fabric for support. However, if you would like it, cut the interface to the same side as the background fabrics (in my case, 8″), pin them together after fusing the teapot, and machine applique’ away.
Putting it together
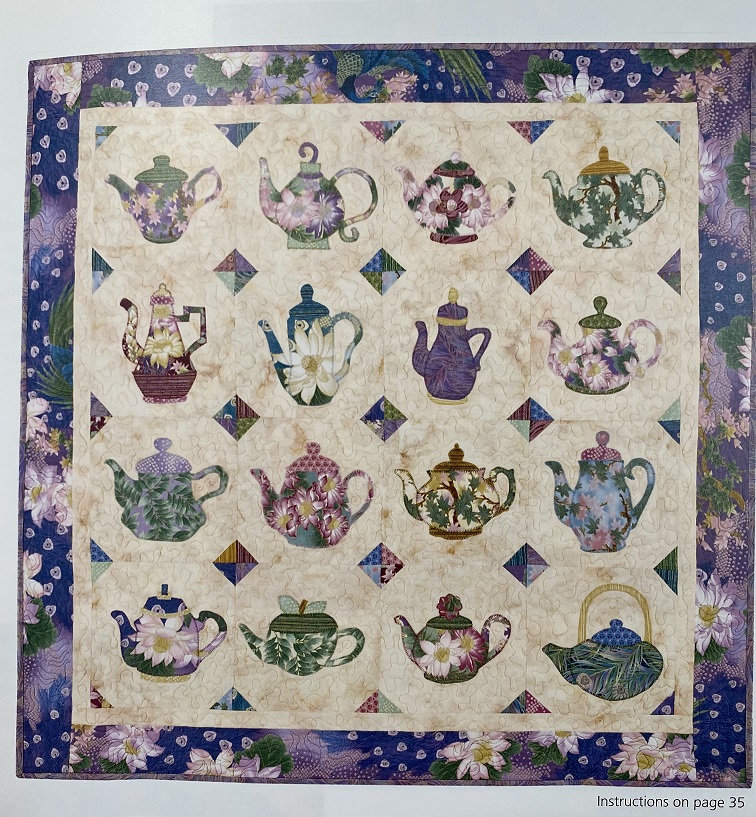
I followed the instructions in the book to add the squares to each corner of the blocks and to put the quilt center together. For a modern look, I chose white background and white border, without a stop (narrow) border.
Quilt the wall hanging

I doodle-quilted it with Signature white thread on the background and made flowers on the border. Fun and relaxing quilting, no marking. If you are not inclined to free-motion quilt your wall hanging, trace a grid over the quilt top and use the walking foot to quilt the sandwich (quilt top, batting, backing) together.
For more ideas about how to quilt your projects, check out this post on Quilting Motifs with Paper and the Fourth of July Mini Quilt post where I show you how I use the walking foot to quilt my projects.
Wall hangings are really all I have had time for lately. While I am traveling I will post more book reviews, which I hope will help you as you decide which ones to acquire for your quilting library this Summer.
Now that you know how to make a quilted wall hanging with teapots, search your stash for your favorite fabrics, get the book (I think you can still find it!), and sew until it is done! Have a fun week!

Beautiful Denise, especially love the blue and white colors.
Gorgeous! Reminds me of the Blue Willow china.