This Snowman is one of those quick Christmas ornament crafts that double as wall decor. It is easy to make, and it’s great as a gift for friends and family.

I am totally smitten by him! It was fun designing and making it so I decided to post a tutorial just in case you like him, too. I used Michael Miller‘s Fawn Memories Christmas fabrics – they were perfect for this project.
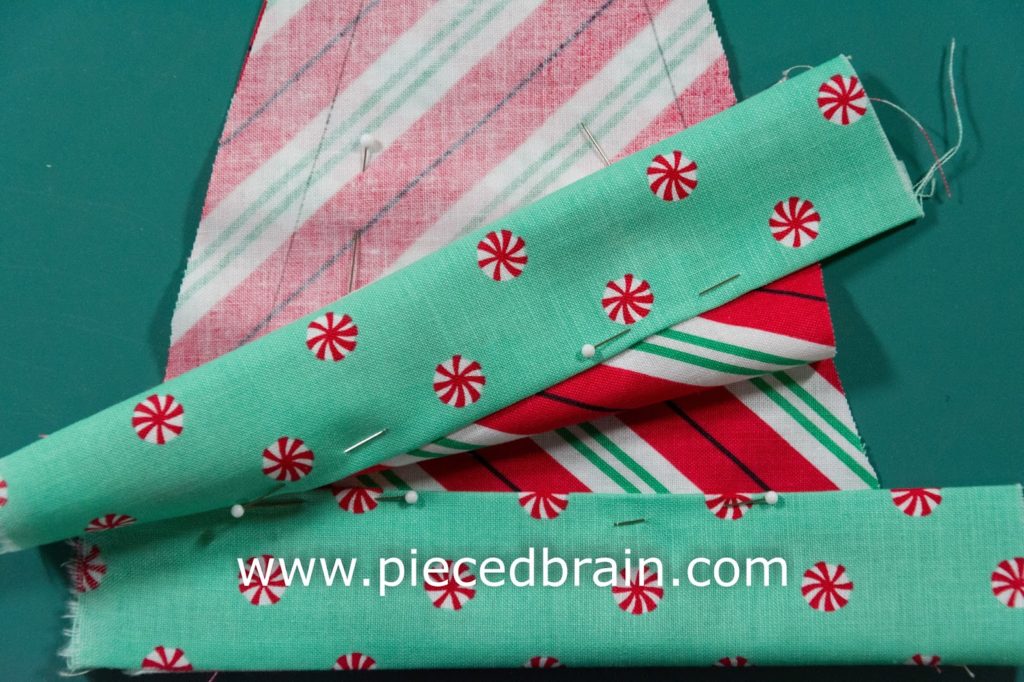
Here is what you will need:
Two Xmas fat quarters [or (1) 12″ square of one fabric and 4″ x 6″ rectangle of another]
(2) 6″ x 6″ squares of white fabric
(1) 6″ x 6″ square of batting
scrap of black felt for eyes
scrap of red felt for hanging loop and heart (heart is on back)
Deco-Foil in red for the nose
Hot Melt sheet
Star button for hat
template plastic
Fabric marking pen
Hot glue gun
Aurifil 50 wt thread for sewing and topstitching
Download the templates by clicking here, and trace the shapes onto template plastic. Cut them on the outline. Arrange 2 squares of white fabric with the right sides together (RST), and place them over a square of batting. Trace the circle template onto the top fabric, pin and stitch on the outline using short stitches (1.8 on my Bernina). Using sharp scissors, cut 1/8″ away from the circle as shown above.
Because you are trimming so close to the seam, you do not need to clip it – the circle will stay flat once turned inside out.
Carefully, pull up one of the fabric layers using a seam ripper and make a little whole. With the scissors, turn the whole into a 1″ slit. Pull all layers through the slit so the batting will be sandwiched between two white fabrics. (See below how I covered the slit).
Fold one of the fat quarters in half with RST, trace hat template onto the top fabric, and cut 1/2″ away from the outline. Cut (2) 1-1/2″ x 6″ rectangles from the other Xmas fabric, place the right side of each rectangle over the wrong side of the wide end of the hat fabric and stitch together. Repeat with the other rectangle and the other side of the hat.

Press the seams open, then fold in about 1/4″ of the hatbands and press. Pin band in place but away from sides of the hat.

Stitch hat over the outline, trim excess bands, press and flip it to the other side. Press again. Slide it over the snowman’s head and topstitch band as shown above. Trace the nose template onto the Hot Melt sheet, cut nose on the outline, and position it on the face with the paper side up. Iron for 30 seconds using a circular motion and no steam.

Using the hot glue gun, cover the slit on the back of the snowman with a heart cut out of scraps of red felt. Fold the hat as shown above. Position the hanging loop on the back and stitch a button to the front making sure to stitch through the hat and the hanging loop.

Once the nose is at room temperature, peel off the paper, place the Deco-Foil over the nose with the red color facing up and iron it for about 35 seconds using a circular motion and no steam. Once at room temperature, peel foil carefully. Attach eyes with a hot glue gun. Also, place a drop of glue onto the hanging loop where your stitches show to seal the stitches and prevent them from loosening.
There you have it! I really like this ornament. I have already been ‘commissioned’ to make one for each of my sons… It will be a pleasure. I will use other cute Christmas fabrics.
Next week I will post tutorials for two other Christmas ornament crafts I made with the same collection. Don’t forget to stop by! In the meantime, tomorrow I will show you my last projects using Deco-Foil (see previous projects (here, and here) – they turned out so cool…

That is darling! Thanks for the tutorial.
Thank you! I am loving this snowman!!!
Aww! Isn't he cute!
How sweet! Thanks for the tutorial.
What a cute little snowman. Thanks for sharing him. Debbie
Bom dia!
Achei a ideia bem legal. Uma árvore cheia deles ficará linda!
E também é possível fazer aproveitando CDs!
Abraços.