Make this easy stain-proof, self-binding table runner, and do not worry about staining the fabric! Laminated fabric is gold in a household with little ones!
[Edited on 01/04/204]

Today my middle name is ‘problem-solver’! I am so excited! My family loves having my quilts all around the house, but they are sometimes afraid to handle them at the dinner table. I have beautiful table quilts and runners that are confined to the dining room as the kitchen table is disaster-prone…
This morning, I tackled this challenge and created a table runner that is pretty, quilted, and stain-proof, using laminated fabric from Moda and Riley Blake Designs, originally purchased for a bag.
It was fast – under 2 hours from conception to completion! Now, the inevitable spills will not stop me from displaying my work and adorning my kitchen.
Here is what you will need:
1/2 yard laminated fabric for the top
1/2 yard laminated fabric for the backing
16″ x 40″ piece of batting (approximate)
Walking foot
Quilting thread
Binding clips
Rotary cutter
Ruler
Cutting mat

The fabric with strawberries is by Moda Fabrics, and the red with white polka dots is by Riley Blake Designs. I trimmed the yellow fabric so it was 1″ narrower than the red/white fabric, all around.
Of course, you can cut the fabrics and stitch them into squares or simple blocks. Click here to see another laminated table runner I made.
Since this is a self-binding table runner, the backing will double as binding at the end. Read on so you will see how it works.

Layer the fabrics together with right sides facing. Using a 1/2″ seam allowance, stitch on the sides to create a tube, backstitching at the start and end. I matched the selvages and trimmed them after stitching.
The walking foot makes sewing the layers easier as it helps feed the fabrics through, and gentle handling of the fabrics is all it takes.
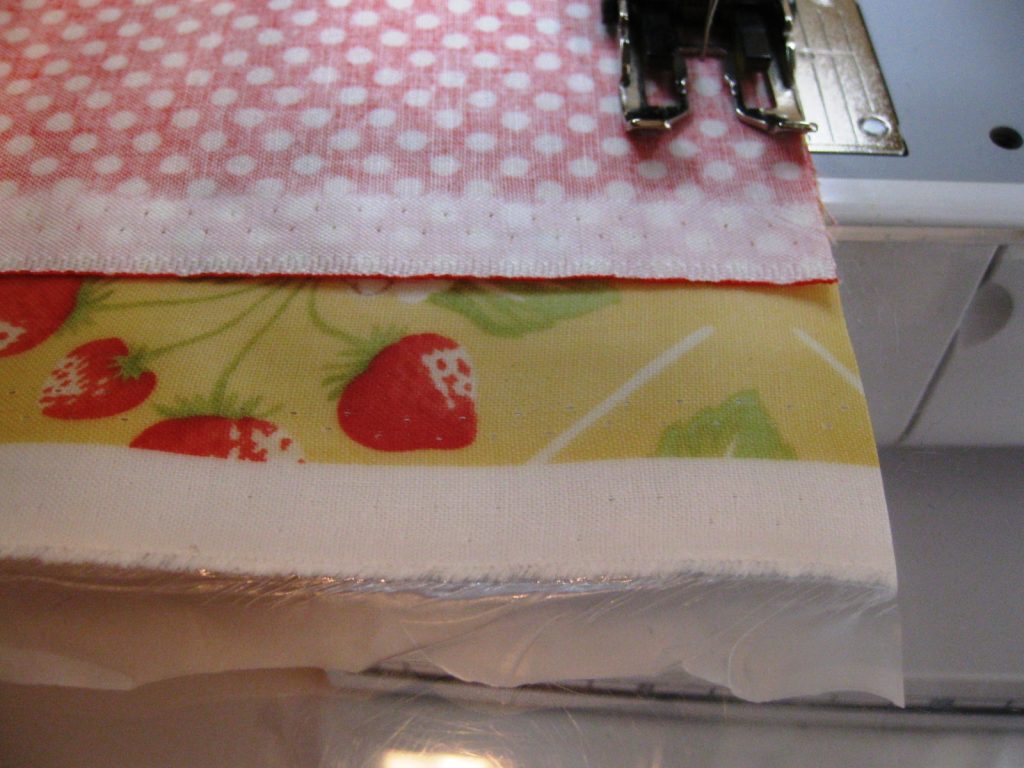
In my case, the lengths of the fabric pieces did not quite match. Once I finished stitching the sides, I measured 1/2″ after my last stitch and trimmed them together.
Here is where the selvages got chopped! I am not sure their removal is as important as when we work with unlaminated fabric, particularly because this table runner will never be washed, just wiped clean.

Now, flip the tube right side out. I love this fabric combination! How lucky I was to find laminated fabrics from different companies that went together so well!
The strawberry fabric has a fresh, spring-like feel to it, and the polka dots added texture to the project.

Next, trim the batting about 1″ narrower than the width of the table runner. Insert the batting into the tube and smooth the whole thing out.
Another option would have been to add the batting in the beginning: layer the fabrics with right sides together atop the batting, stitch it as before, then slip your fingers between the fabric layers and turn the runner right side out.


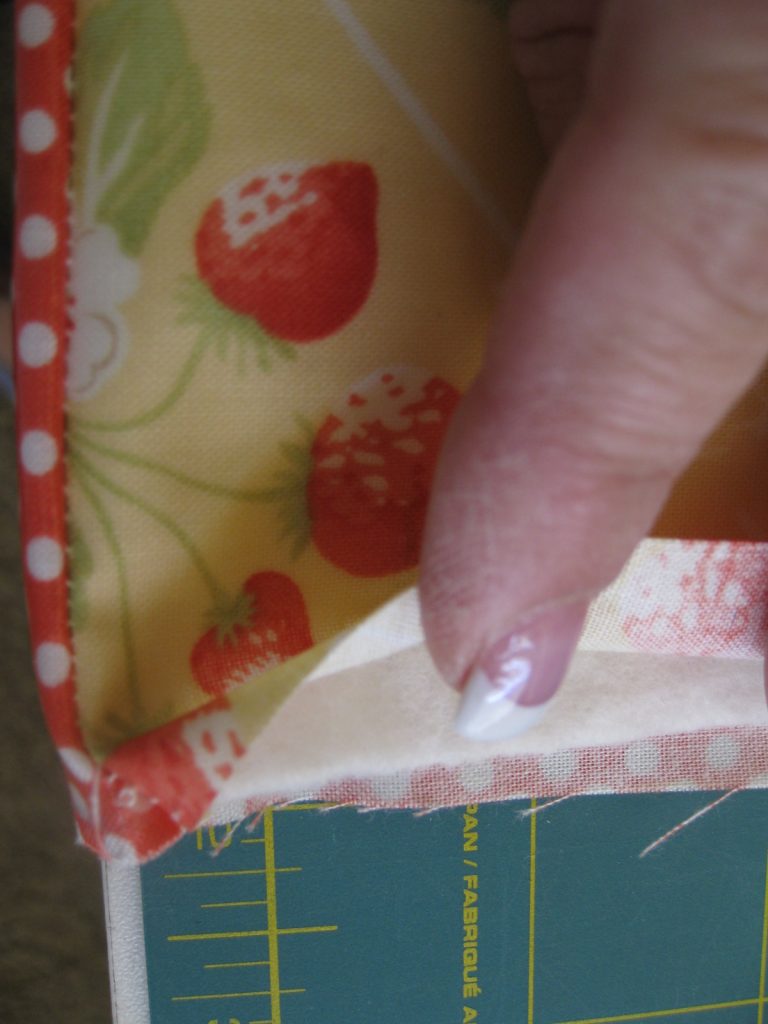
Fold the backing fabric inside and over the batting, and fold the top fabric edge inside, also. Make sure the bottom fabric is showing, as it will be the ‘binding’ on the end. Repeat with the other end, keeping it all together with binding clips.
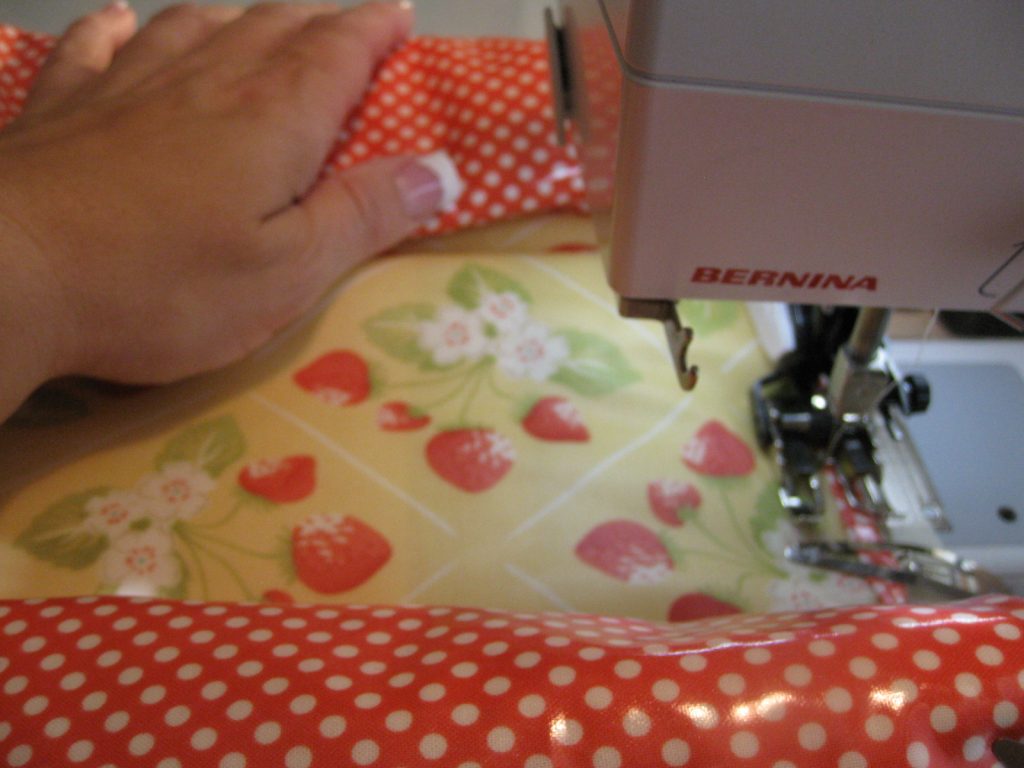
Next, topstitch all around the runner right next to the ‘binding’. I found it easier to roll the runner as shown, and gently pull it as the walking foot moved. I could have used a sheet between the runner and the extension table to prevent sticking, but I did not.

Finally, I quilted the layers using the same presser foot, and following the white lines on the print as guidelines. This stain-proof, self-binding table runner was super easy and fast to make.
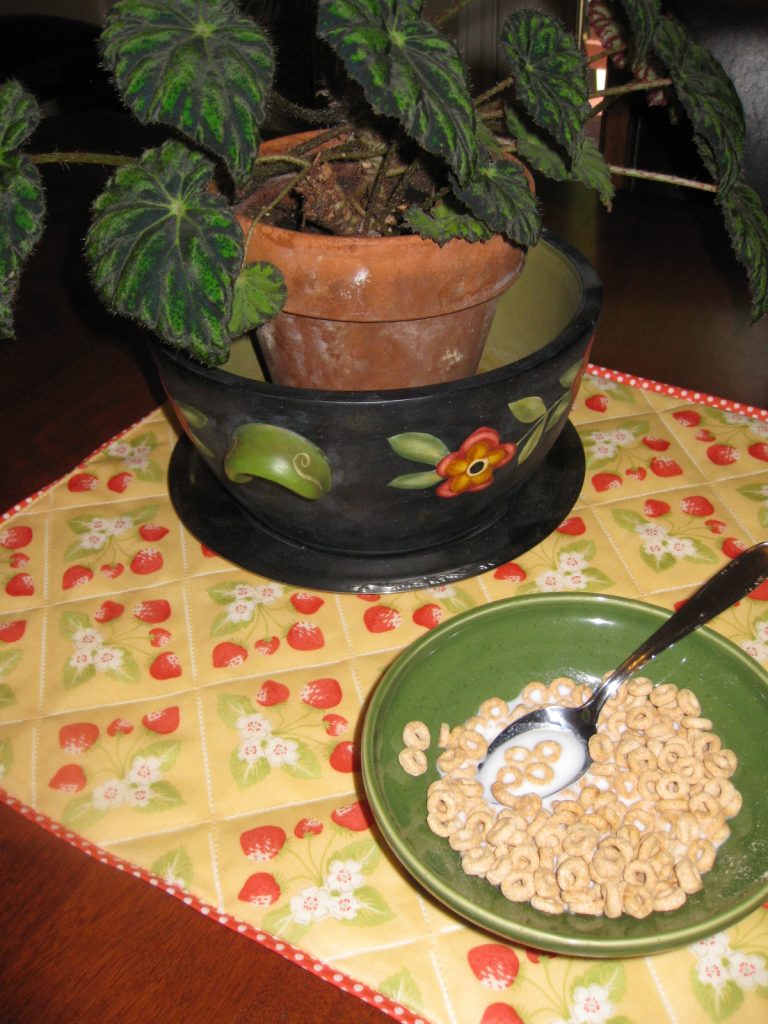
I love how it turned out! I am no longer worried that my runner will get stained with food or drinks, and the table looks so cozy!

Wonderful tutorial and what a great idea to use vinyl fabric! Thanks for sharing!
Quilting at the River Linky Party Tuesday
Great idea to use vinyl, a good way to keep your lovely fabric clean!
Really cute runner and perfect for linking up to Tuesday at the {summer} Table, if you want! Very fun & nice tutorial.
Love the Tutorial!!!
What a great idea and fun tutorial!
This is a clever idea. They are making such cute vinyls and oilcloths right now, that I'll have to try it.
That's a pretty runner and thanks for sharing a wonderful tutorial!
Would this work with just cotton fabric instead of the vinyl?